
The Complete Guide to Growing Bio-Oil Skincare Plants at Home: Benefits, Care & Harvesting
Introduction
Have you ever wondered how you could create your own natural skincare solutions right in your backyard? Growing plants specifically for bio-oil skincare oil production has become increasingly popular among health-conscious gardeners and beauty enthusiasts alike. The ability to cultivate your own bio-oil skincare benefits plants eliminates the need for expensive commercial products and gives you complete control over what touches your skin.
In today’s world of synthetic beauty products filled with chemicals and unknown additives, more people are turning back to nature. Growing bio-oil skincare plants at home is not just a trend—it’s a practical investment in your long-term health and wellness. When you understand how to cultivate these plants properly, you gain access to pure, potent ingredients that can transform your skincare routine completely.
This comprehensive guide will walk you through everything you need to know about growing and harvesting bio-oil skincare plants, from the initial setup to storage and maintenance. Whether you’re a seasoned gardener or a complete beginner, these step-by-step instructions will help you create a thriving plant sanctuary dedicated to natural beauty.
Materials & Supplies
Before beginning your bio-oil skincare plant journey, gather these essential materials:
Seeds or Starter Plants:
– High-quality seeds from reputable suppliers
– Alternatively, purchase nursery starter plants for faster results
– Choose organic varieties when possible
Soil and Growing Medium:
– Well-draining potting soil (essential for preventing root rot)
– Peat moss or coconut coir for moisture retention
– Perlite or sand for additional drainage
– Compost for nutrient enrichment
Containers and Pots:
– 5-10 gallon pots with drainage holes
– Seed trays for germination
– Raised bed materials (cedar or composite)
– Saucers to catch excess water
Fertilizers and Amendments:
– Organic all-purpose fertilizer
– Nitrogen-rich fertilizer for leafy growth
– Phosphorus-rich fertilizer for flowering
– Natural compost or aged manure
– Bone meal for phosphorus boost
– Fish emulsion for liquid feeding
Tools and Equipment:
– Garden spade and hand trowel
– Pruning shears and scissors
– Garden gloves
– Watering can or hose with adjustable spray
– pH testing kit
– Thermometer
– Plant labels and markers
Optional but Helpful Items:
– Grow lights for indoor cultivation
– Greenhouse plastic or shade cloth
– Plant stakes for support
– Mulch (straw, wood chips, or leaves)
– Humidity meter for monitoring moisture levels
Timing / Growing Schedule

Understanding the timeline for growing bio-oil skincare plants is crucial for successful harvesting:
Preparation Phase (2-3 weeks):
Prepare your growing space and soil 2-3 weeks before planting. This allows you to amend the soil, establish proper drainage, and create optimal growing conditions.
Germination Period (7-14 days):
Most bio-oil skincare plants germinate within one to two weeks under proper conditions (warm soil, consistent moisture, adequate light). Keep soil consistently moist but not waterlogged during this phase.
Seedling Stage (3-4 weeks):
After germination, seedlings require 14-21 days to develop their first true leaves. Maintain consistent watering and provide adequate light to prevent leggy growth.
Vegetative Growth (4-8 weeks):
This stage focuses on building strong stems and foliage. Most varieties will reach sufficient size for transplanting outdoors within 4-8 weeks, depending on the specific plant species.
Flowering and Oil Production (6-12 weeks):
Once established in their final location, plants typically begin flowering within 6-12 weeks, when oils concentrate in leaves, flowers, or seeds.
Harvest Window (2-4 weeks):
Plan to harvest during peak morning hours when oil concentration is highest, typically 2-4 weeks after flowering begins.
Step-by-Step Instructions
Step 1: Prepare Your Growing Environment
Select a location with at least 6-8 hours of direct sunlight daily. Ensure the area has protection from harsh winds and extreme temperature fluctuations. For indoor cultivation, position plants near south-facing windows or under grow lights. This foundational step determines whether your bio-oil skincare oil production will thrive or struggle.
Step 2: Mix and Prepare Soil
Combine high-quality potting soil with compost at a 70:30 ratio. Add perlite to improve drainage (approximately 1 part perlite to 5 parts soil mixture). Fill your containers, leaving 1-2 inches from the top. Water the soil thoroughly until it drains from the bottom holes—this ensures even moisture distribution.
Step 3: Sow Seeds or Transplant Seedlings
Plant seeds at the depth indicated on your seed packet (typically 2-3 times the seed’s diameter). Space seeds according to package instructions. If using starter plants, gently remove them from their containers and place in prepared holes at the same soil depth. Pat soil firmly but gently around the base.
Step 4: Water Correctly
Water with a gentle spray to avoid disturbing seeds or seedlings. Keep soil consistently moist—think of a wrung-out sponge, not a swamp. Most bio-oil skincare plants prefer moisture without waterlogging. Water early morning to reduce disease pressure and allow foliage to dry during daylight hours.
Step 5: Provide Optimal Light
Position plants where they receive 6-8 hours of bright, indirect light daily. If natural light is insufficient, use LED grow lights positioned 6-12 inches above plants, running them 12-16 hours daily. Rotate containers every few days to promote even growth.
Step 6: Apply Fertilization Schedule
Begin fertilizing once plants develop their second set of true leaves. Apply diluted organic fertilizer every 2-3 weeks during the growing season. Follow package directions carefully to avoid over-fertilizing, which can reduce oil concentration and attract pests. The proper bio-oil skincare benefits depend on nutrient balance throughout development.
Step 7: Support Plant Growth
As plants mature, install stakes or cages to support stems that may become heavy with foliage or flowers. Gently tie stems to supports using soft plant ties, allowing room for stem expansion.
Step 8: Monitor for Pests and Disease
Check plants weekly for signs of pest damage, yellowing leaves, or mold. Address problems immediately with organic pest management solutions. Maintain good air circulation to prevent fungal diseases.
Step 9: Prune for Fuller Growth
Pinch off terminal buds when plants reach 6-8 inches tall to encourage bushier, fuller growth. Remove lower leaves as plants mature to improve air circulation. Regular pruning also increases oil concentration in remaining foliage.
Nutritional Benefits / Advantages
Growing bio-oil skincare plants at home provides remarkable health and environmental advantages:
Pure Ingredient Control:
When you grow plants yourself, you control every aspect from seed selection to harvest, ensuring absolute purity without pesticides or synthetic chemicals.
Superior Potency:
Homegrown plants harvested at peak ripeness contain maximum oil concentration compared to store-bought products that may have degraded during transport and storage.
Cost Effectiveness:
Initial investment in seeds and materials quickly pays for itself compared to purchasing expensive commercial skincare products month after month.
Environmental Sustainability:
Reduce carbon footprint by eliminating commercial shipping and packaging waste while supporting local pollinator populations in your garden.
Customized Skincare Solutions:
Growing multiple varieties allows you to blend custom skincare oils tailored to your specific skin type and concerns.
Therapeutic Benefits:
The gardening process itself provides stress reduction, physical activity, and connection to nature—all contributing to overall wellness beyond skincare benefits.
Tips, Alternative Methods, or Gardening Advice
Container Gardening for Small Spaces:
Grow bio-oil skincare plants in large containers on balconies, patios, or small yards. Five-gallon containers work excellently for most varieties. Use quality potting soil and ensure drainage holes are present.
Indoor Growing with Grow Lights:
For apartment dwellers or year-round production, set up indoor growing stations with LED grow lights. Maintain temperatures between 65-75°F and humidity around 50-60%.
Raised Bed Method:
Build 4×8 foot raised beds filled with premium growing medium for easier harvesting and maintenance. This method improves drainage and protects plants from soil-borne diseases.
Hydroponic Growing:
Advanced gardeners can employ hydroponic systems for faster growth and water conservation, using nutrient solutions specifically formulated for skincare plant varieties.
Succession Planting:
Plant new seeds every 2-3 weeks throughout the growing season to ensure continuous harvests rather than single large yields.
Seasonal Adjustments:
In colder climates, start plants indoors 6-8 weeks before last frost. In hot climates, provide afternoon shade during peak summer months to prevent stress.
Companion Planting:
Grow nasturtiums nearby to deter pests, or plant mint varieties together to maximize space efficiency and create diverse oil blends.
Common Mistakes to Avoid
Over-Watering:
The most common error is excessive watering, leading to root rot and fungal diseases. Let soil dry slightly between waterings—most bio-oil skincare plants prefer slightly dry conditions.
Insufficient Light:
Weak, leggy plants with pale leaves indicate inadequate light. Increase light exposure or move plants to brighter locations to promote oil production.
Poor Drainage:
Using containers without drainage holes traps excess moisture and causes root problems. Always ensure adequate drainage in your growing setup.
Overcrowding:
Planting too densely restricts air circulation and promotes disease. Space plants according to mature size requirements, even if they initially appear sparse.
Inconsistent Temperature:
Extreme temperature fluctuations stress plants and reduce oil concentration. Maintain stable temperatures between 60-75°F for optimal results.
Premature Harvesting:
Harvesting before plants reach full maturity results in lower oil yields. Wait until plants show full flowering or seed development before harvesting.
Ignoring Nutrient Needs:
Bio-oil skincare plants require consistent nutrition. Skipping fertilization or using wrong nutrient ratios reduces plant vigor and oil quality.
Wrong Soil pH:
Most varieties prefer slightly acidic soil (pH 6.0-6.8). Test your soil and amend accordingly to ensure nutrient availability.
Storage / Maintenance Tips
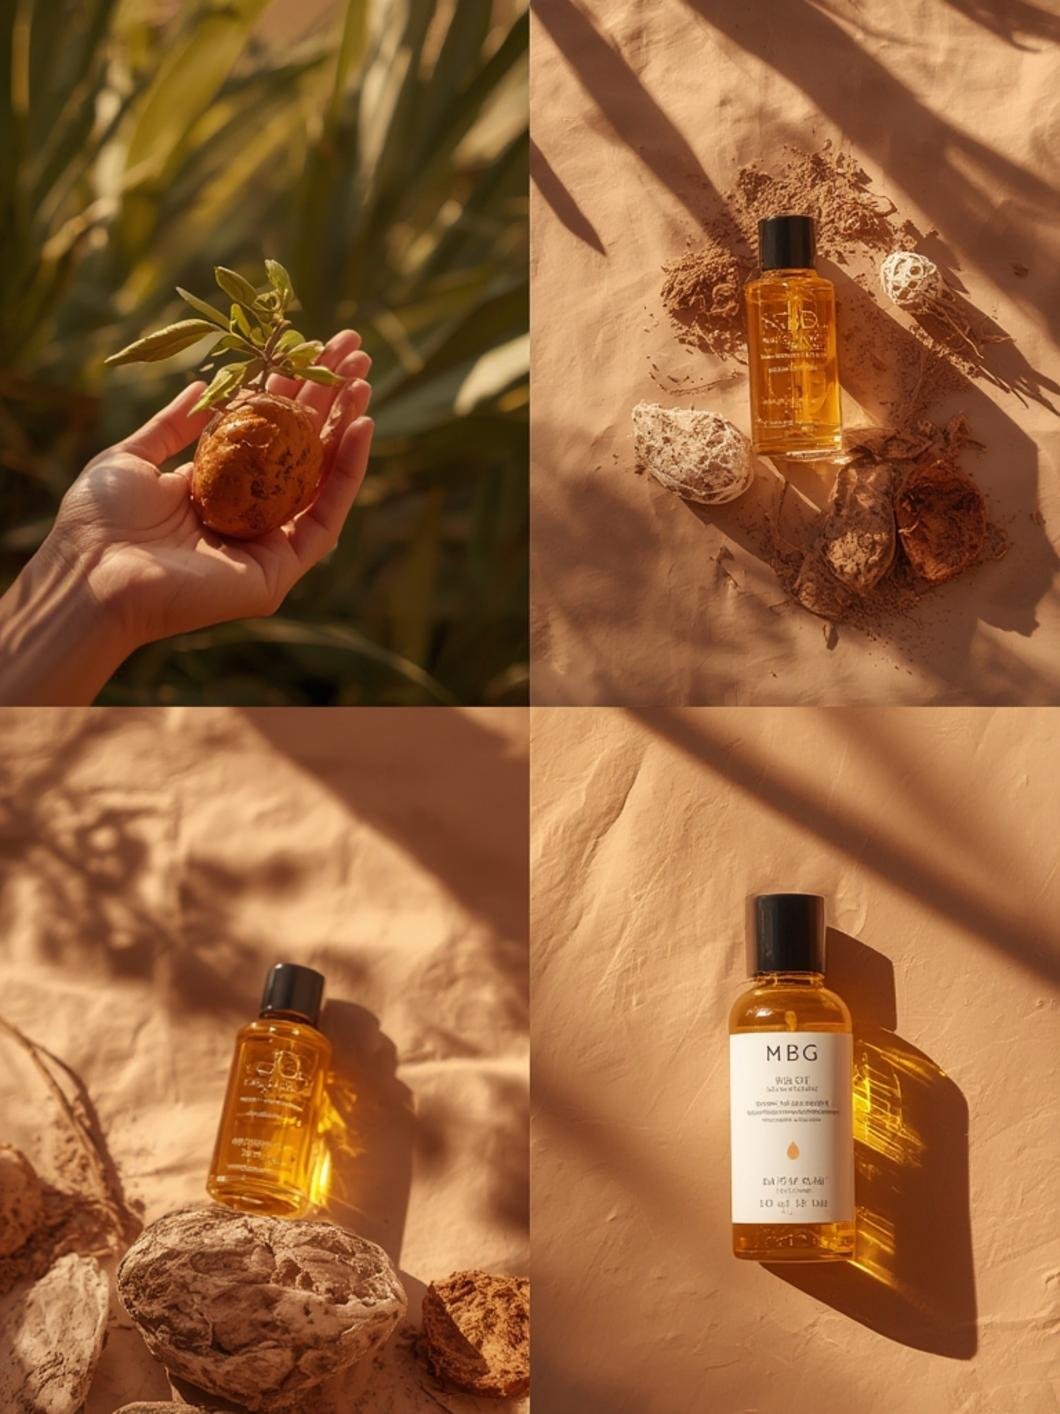
Harvesting Oil from Fresh Plants:
Cut plant material in early morning when oil concentration peaks. Use sharp, clean scissors to make precise cuts, avoiding bruising. Harvest only 30% of the plant to ensure continued growth.
Drying Fresh Material:
Spread fresh harvest on screens in warm, dark, well-ventilated areas. Dry at temperatures below 95°F to preserve delicate oils. Most material dries completely within 7-14 days.
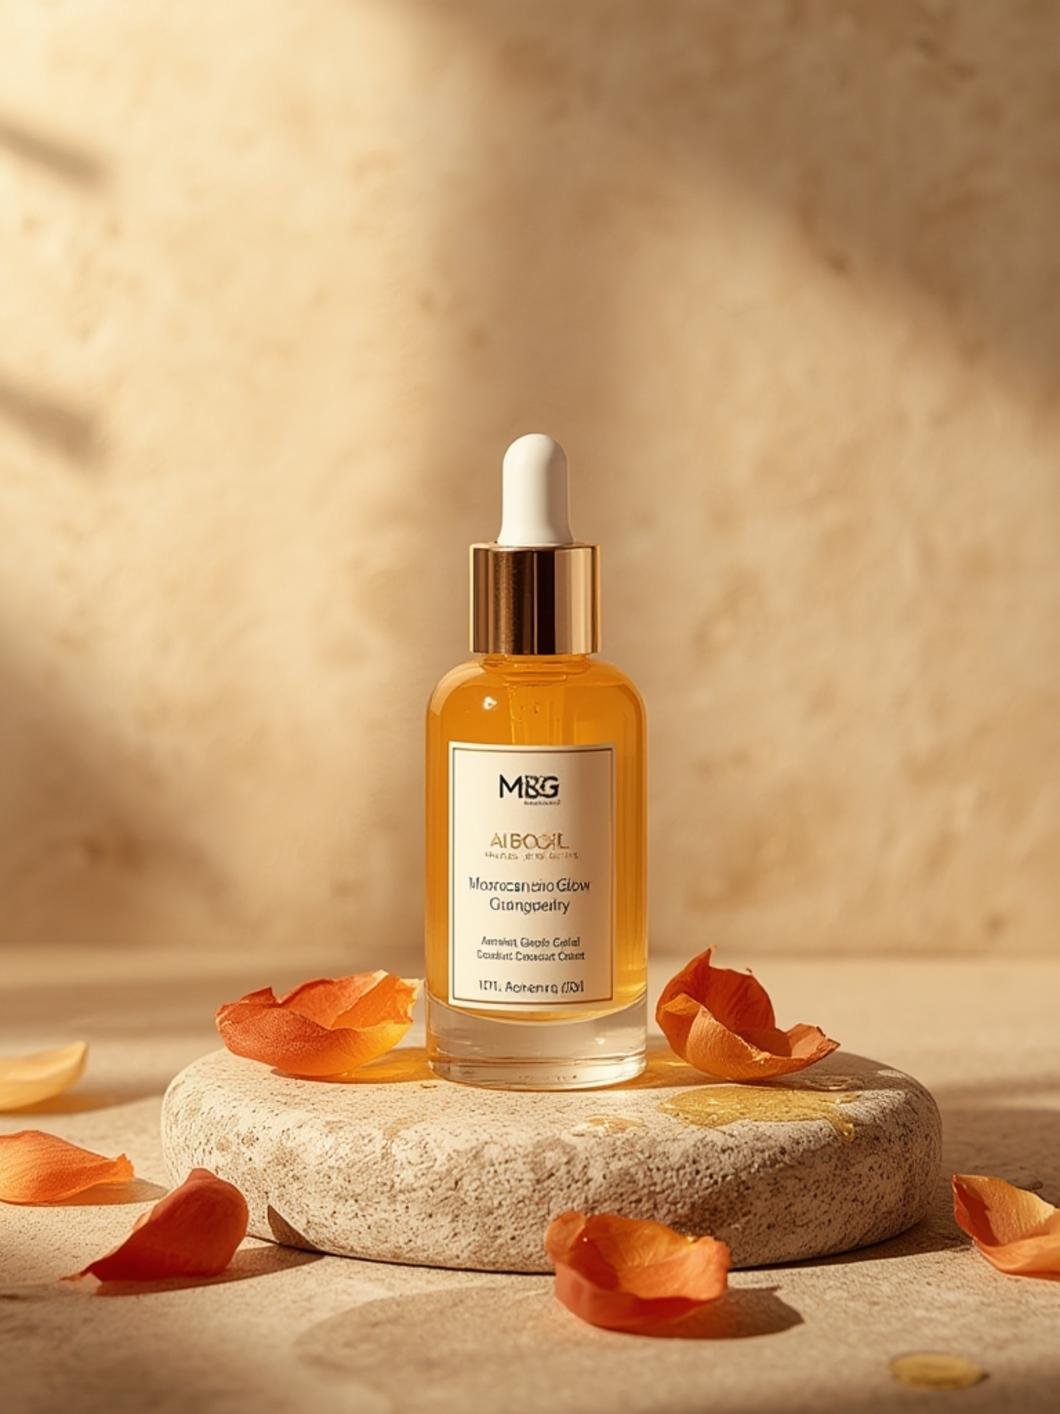
Oil Extraction:
Use cold-press or infusion methods to extract oils from dried material. Store finished oils in dark glass bottles away from heat and light to preserve potency.
Storage Conditions:
Keep harvested oils in cool, dark places at temperatures between 50-60°F. Dark glass bottles with tight seals prevent oxidation and extend shelf life to 6-12 months.
Ongoing Plant Maintenance:
– Water consistently without waterlogging (check soil moisture 1-2 inches deep)
– Feed plants every 2-3 weeks during active growth
– Deadhead spent flowers to encourage continued production
– Remove yellowing or diseased leaves immediately
– Repot plants annually or when roots emerge from drainage holes
– Reduce watering and feeding in winter for dormant varieties
Seasonal Care:
Spring and summer require regular watering and feeding as plants actively grow. Fall involves gradually reducing watering as growth slows. Winter maintenance varies by species—some require complete dormancy while others continue growing indoors.
Conclusion
Growing your own bio-oil skincare oil plants transforms how you approach personal care and wellness. This comprehensive guide has provided everything necessary to establish a thriving home garden dedicated to producing pure, potent skincare solutions. From preparation through harvest and storage, understanding each phase ensures maximum success and oil quality.
The journey to cultivating bio-oil skincare benefits in your home garden offers far more than cosmetic advantages—it connects you to natural living while providing complete transparency about ingredients touching your skin. Whether you have a sprawling backyard or a small apartment balcony, growing these remarkable plants is entirely achievable.
Ready to begin your journey? Start with one or two varieties that appeal to you most, and gradually expand your home garden as you gain confidence. Share your growing experiences in the comments below, connect with other gardeners in our community, or explore our related articles on natural skincare, herb gardening, and sustainable living practices. Your healthiest skin awaits in the garden you’re about to create!
FAQs
Q1: How long before I can harvest oil from newly planted bio-oil skincare plants?
A: Most varieties reach harvest-ready maturity within 8-16 weeks from planting seeds, or 4-8 weeks from transplanting starter plants. Factors including temperature, light, and specific plant variety affect exact timing.
Q2: Can I grow bio-oil skincare plants indoors year-round?
A: Yes! With proper grow lights (12-16 hours daily), consistent temperatures (65-75°F), and humidity control (50-60%), you can maintain continuous indoor production regardless of outdoor seasons.
Q3: What’s the best way to extract oil from my harvested plants?
A: For beginners, infusion methods work excellently—place dried plant material in carrier oil (like jojoba or coconut oil) and let steep 2-4 weeks in a dark location. Strain and store in dark glass bottles.
Q4: Why are my plants turning yellow despite regular watering?
A: Yellow leaves typically indicate over-watering, poor drainage, or nutrient deficiency. Check soil drainage first, reduce watering frequency, and consider applying balanced fertilizer to address nutrient gaps.
Q5: How can I maximize oil production in a small space?
A: Use vertical growing methods, container gardening, succession planting, and high-intensity LED grow lights. Choose compact varieties and prune regularly to encourage bushier growth with more foliage for oil extraction.


