
The Complete Guide to Growing Medicinal Herbs for Natural and Organic Skincare at Home
Introduction
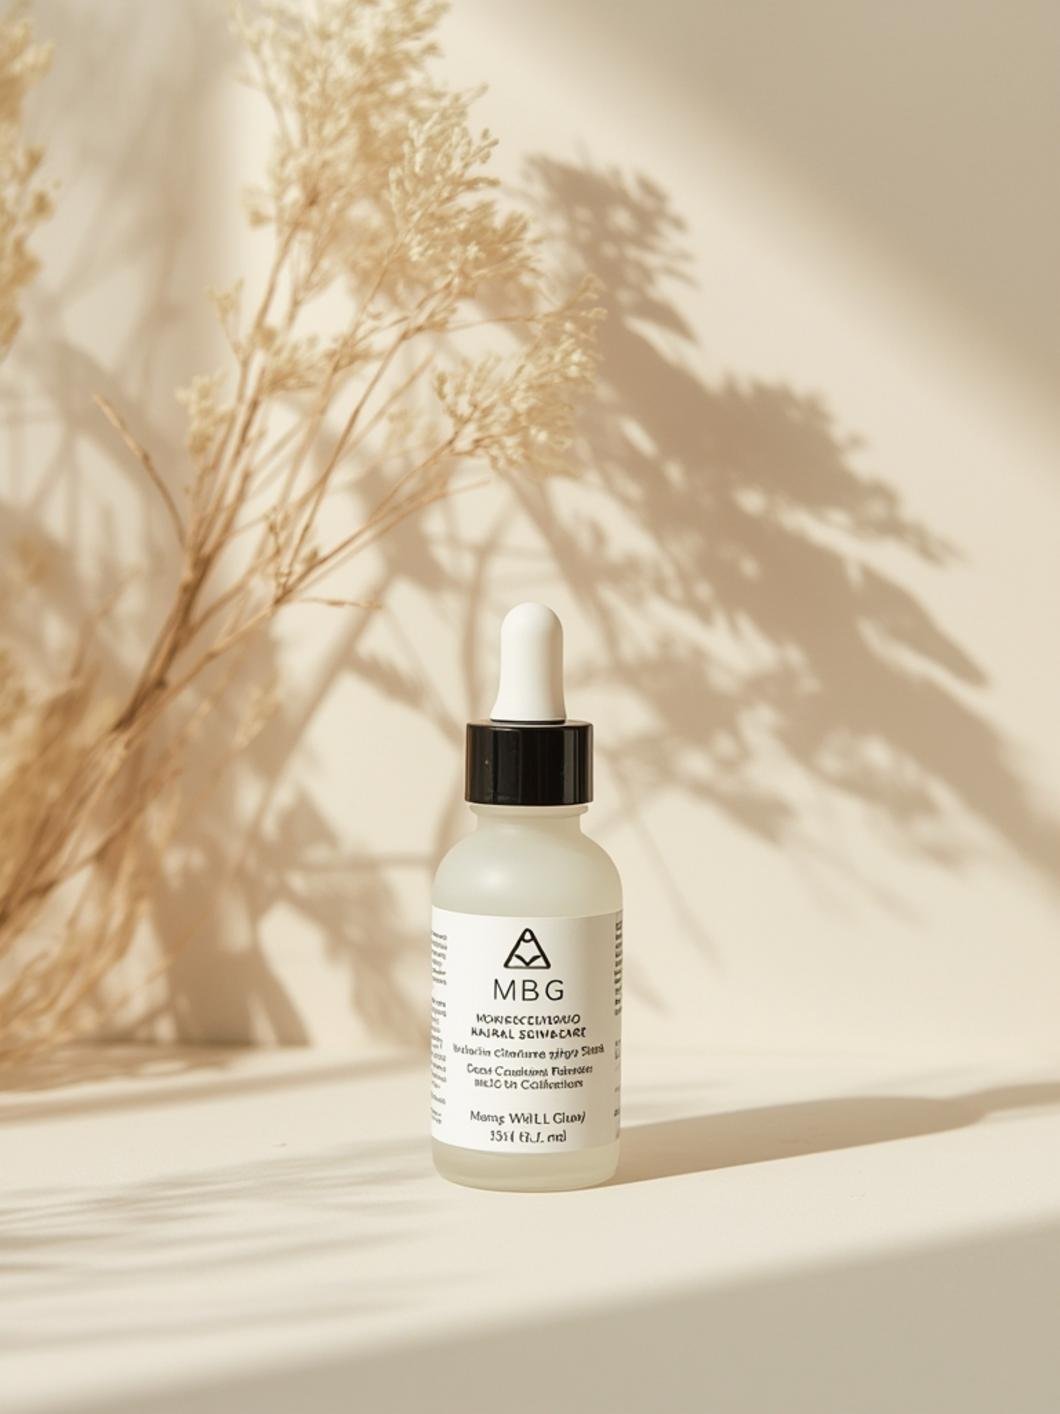
Have you ever wondered why ancient civilizations thrived for centuries using homegrown remedies for their skin? The answer lies in the power of cultivating natural skincare solutions directly in your garden. Today, more people than ever are discovering the remarkable benefits of growing medicinal herbs at home, moving away from synthetic products and embracing organic skincareWe return plain text.organic skincare alternatives. This comprehensive guide will show you how to create your own botanical skincare sanctuary, eliminating middlemen and ensuring complete transparency about what touches your precious skin.
Growing these healing plants at home offers unparalleled advantages. You control every aspect—from soil quality to harvesting methods—ensuring maximum potency and purity. Whether you’re a seasoned gardener or a complete beginner, this step-by-step approach will transform you into a confident cultivator of skincare botanicals. The value extends beyond just savings; it’s about reclaiming your wellness journey and experiencing the profound satisfaction of nurturing plants that nurture you.
Materials & Supplies
Before you begin your journey toward homegrown natural skincare, gathering the right materials ensures success. Here’s everything you’ll need:
Essential Items:
– Seeds or seedlings: Choose from chamomile, calendula, aloe vera, lavender, rosemary, or green tea plants
– Potting soil: High-quality, well-draining organic mix specifically formulated for herbs
– Containers: 6-12 inch pots with drainage holes (terracotta, ceramic, or recycled containers work beautifully)
– Watering can: With a gentle spray nozzle to prevent soil erosion
– Gardening gloves: Protect your hands while working
– Labels and markers: Identify your plants as they grow
– Fertilizer: Organic, slow-release options like compost or fish emulsion
– Pruning shears: Essential for harvesting and maintenance
– Grow lights: Optional but beneficial for indoor gardening
– Humidity tray: A shallow container filled with pebbles and water to increase moisture
Optional Supplies:
– Raised garden beds for outdoor cultivation
– Mulch for moisture retention
– Plant stakes for support
– Spray bottle for misting
– pH testing kit to monitor soil acidity
Timing / Growing Schedule
Understanding the growth timeline helps you plan your skincare garden effectively. Most medicinal herbs follow predictable patterns:
Preparation Phase (Weeks 1-2): Prepare your growing space, sterilize containers, and mix your potting soil. This crucial foundation determines success rates.
Germination Period (Weeks 2-4): After planting seeds, expect sprouting within 7-14 days for most herbs. Maintain consistent moisture and warmth (65-75°F is ideal).
Growth Phase (Weeks 5-12): Seedlings develop their true leaves and establish root systems. This period requires regular watering and gradual exposure to stronger light.
Maturation Stage (Weeks 12-16): Plants reach full size and begin producing usable leaves and flowers. Most herbs are ready for harvest by this point.
Continuous Harvest (Months 4+): With proper care, most medicinal herbs produce for 1-2 years, providing consistent skincare ingredients.
For comparison, store-bought skincare takes months to manufacture; your homegrown solutions reach peak potency in just 4 months—a significant timeline advantage.
Step-by-Step Instructions
Step 1: Prepare Your Growing Environment
Choose a location receiving 6-8 hours of indirect sunlight daily. Indoor windowsills or sheltered outdoor spaces work perfectly. Ensure adequate air circulation to prevent mold and fungal issues. This foundation is crucial for developing potent herbs for natural skincare applications.
Step 2: Fill Containers with Quality Soil
Add pre-moistened potting soil to your containers, filling them three-quarters full. Gently press down without compacting—roots need space to expand. Leave one inch at the top for watering.
Step 3: Plant Seeds or Seedlings
For seeds, follow packet instructions regarding depth. Small seeds need shallow placement, while larger seeds go deeper. Space seedlings according to mature plant size. Water gently after planting.
Step 4: Maintain Optimal Moisture
Water when the top inch of soil feels dry to the touch. Overwatering causes root rot—the primary killer of medicinal herbs. Consistency matters more than quantity. Use room-temperature water to avoid shocking delicate roots.
Step 5: Provide Adequate Light
Seedlings need 12-14 hours of light daily. Rotate containers every 2-3 days to promote even growth. If leaves appear pale or stretched, increase light exposure gradually.
Step 6: Support Growth with Nutrients
After four weeks, begin monthly fertilization using organic skincareWe return plain text.organic skincare-compatible nutrients. Dilute fertilizer to half strength to prevent burning tender plants.
Step 7: Harvest Strategically
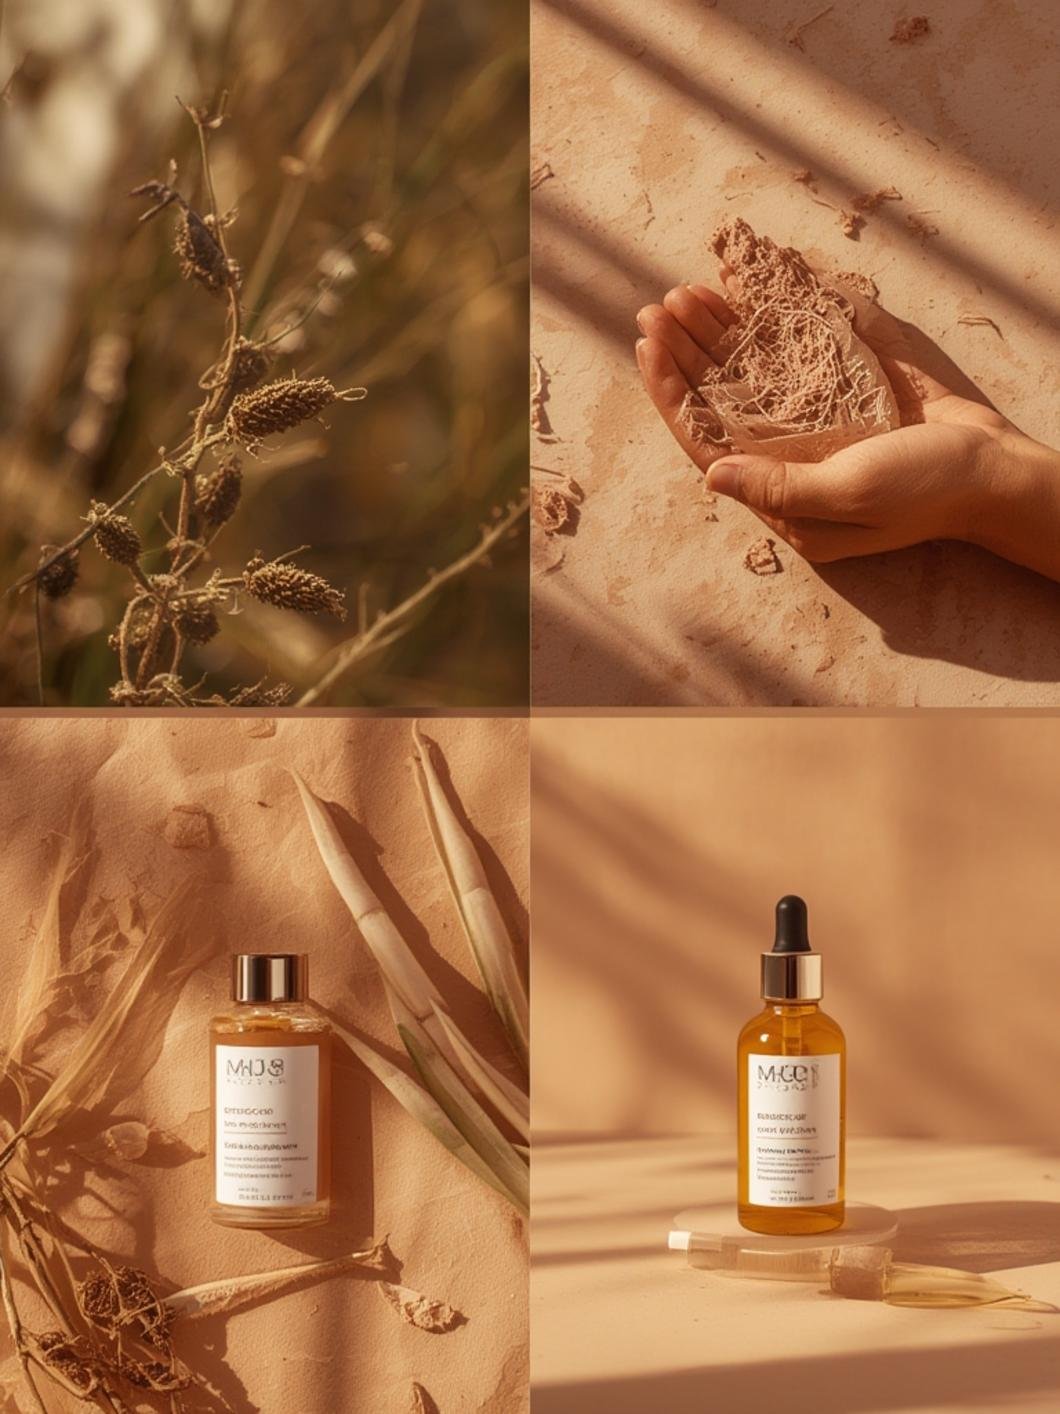
Pinch off flower buds from the top to encourage bushier growth. Begin harvesting leaves once plants have 6-8 sets of true leaves. Morning harvesting yields maximum potency—oils are strongest before midday heat.
Nutritional Benefits & Advantages
Growing medicinal herbs at home delivers exceptional benefits extending far beyond cosmetic applications:
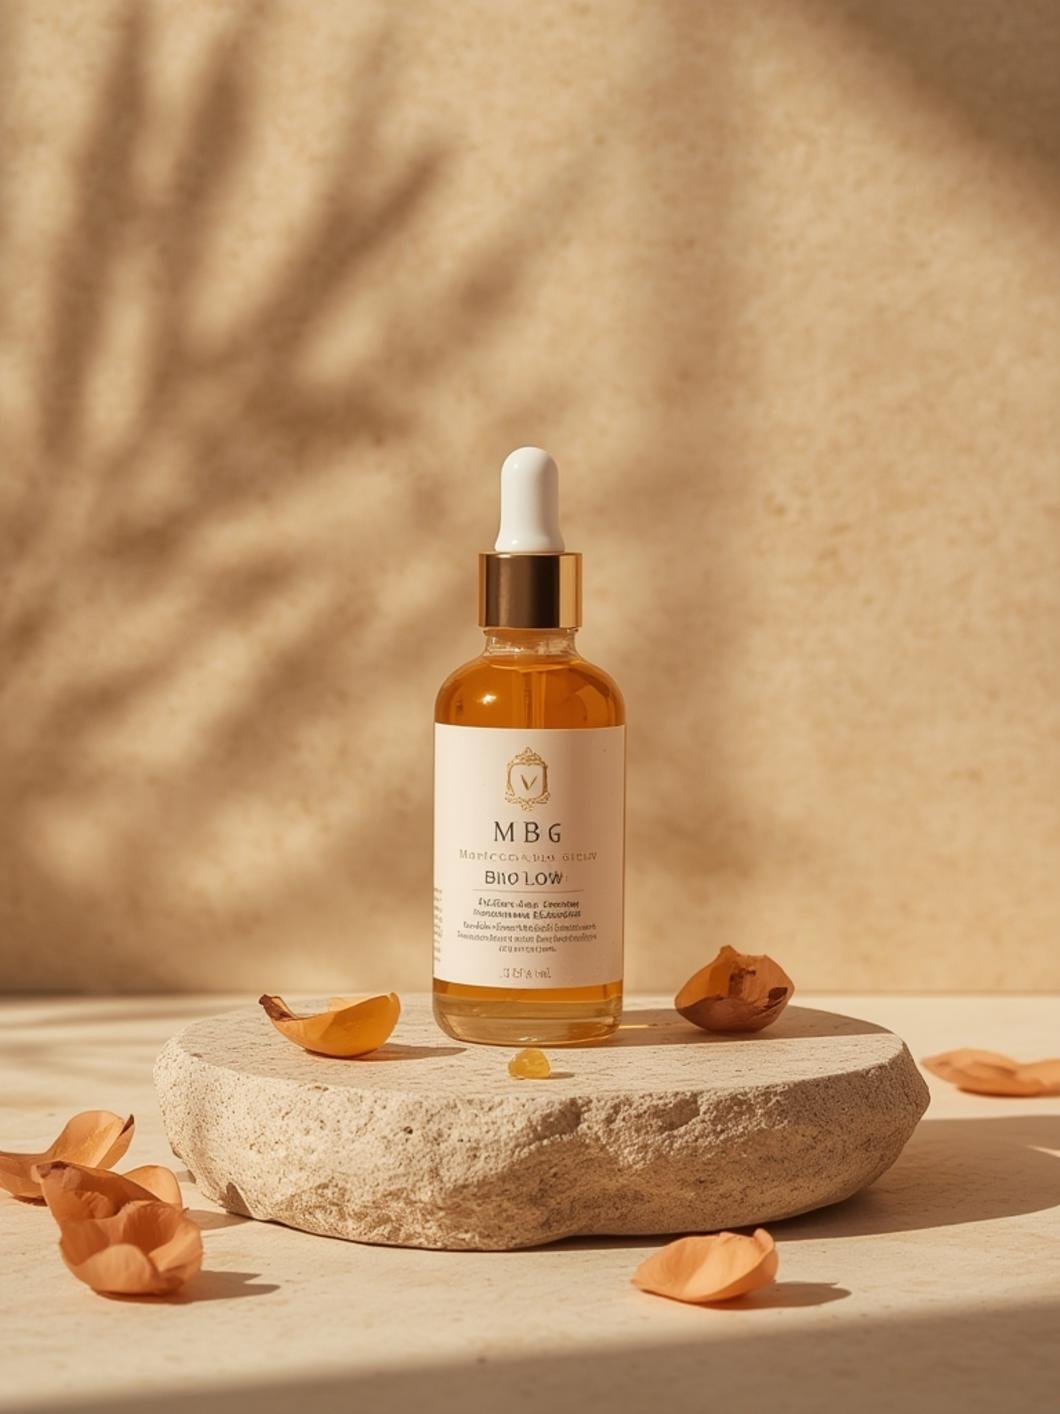
Skin Health Benefits: Chamomile reduces inflammation and redness, calendula accelerates healing, and lavender calms irritation. These herbs contain antioxidants, flavonoids, and essential oils that commercial products struggle to preserve effectively.
Cost Efficiency: A single seed packet ($2-3) produces hundreds of dollars’ worth of usable material across an entire growing season.
Environmental Impact: Eliminate plastic packaging waste while reducing your carbon footprint by growing locally.
Quality Assurance: Know exactly what enters your skincare products. No pesticides, no synthetic preservatives, just pure botanical power.
Therapeutic Value: The gardening process itself reduces stress, improving skin health through relaxation benefits.
Tips, Alternative Methods & Gardening Advice
Container Gardening Mastery: Perfect for apartment dwellers or limited-space gardeners. Use stackable containers or vertical shelving to maximize growing capacity. Containers dry faster than ground soil, so monitor moisture closely.
Indoor Growing Strategies: Supplement natural light with LED grow lights positioned 6-12 inches above plants. Maintain humidity levels between 40-60% using a humidifier or pebble trays.
Seasonal Considerations: Start spring seedlings indoors in February-March. Summer requires shade cloth in hot climates. Bring containers inside during fall and winter in cold regions.
Companion Planting: Grow basil near calendula to repel pests naturally. Intersperse plants to optimize space and create microhabitats.
Organic Methods: Use neem oil for pest management and companion herbs like marigolds for natural pest deterrence.
Common Mistakes to Avoid
Overwatering: The number-one herb killer. Allow soil to dry between waterings. Use containers with drainage holes exclusively.
Insufficient Light: Weak, leggy growth indicates light deficiency. Increase daily light exposure to at least 8 hours.
Wrong Soil Type: Garden soil retains too much moisture. Always use well-draining potting soil formulated for containers.
Overcrowding: Plants need space for air circulation. Follow spacing recommendations on seed packets.
Harvesting Too Aggressively: Never remove more than one-third of a plant’s foliage at once. This prevents stress and ensures continued productivity.
Neglecting Pest Management: Inspect plants weekly for spider mites, aphids, and whiteflies. Address issues immediately with organic solutions.
Storage & Maintenance Tips
Harvesting and Drying: Harvest in early morning after dew dries. Tie stems in small bundles and hang in a warm, dark, well-ventilated space for 2-3 weeks. Store dried herbs in glass containers away from sunlight.
Ongoing Care Requirements:
– Watering: Check soil moisture daily; adjust based on humidity and temperature
– Pruning: Remove dead leaves and spent flowers to encourage new growth
– Fertilizing: Monthly applications during growing season; reduce in winter
– Repotting: Move plants to larger containers when roots emerge from drainage holes
– Seasonal Adjustments: Reduce watering in winter; increase light supplementation indoors
Long-term Storage: Dried herbs remain potent for 6-12 months in sealed containers stored in cool, dark conditions.
Conclusion
Your journey toward sustainable natural skincare and authentic organic skincareWe return plain text.organic skincare begins with a single seed. This comprehensive guide equips you with everything needed to cultivate medicinal herbs that transform your skincare routine. From preparation through harvest, you now understand the complete process of growing potent botanical ingredients.
The benefits compound over time—healthier skin, reduced environmental impact, significant cost savings, and genuine peace of mind knowing exactly what nourishes your skin. Start small with 2-3 beginner-friendly herbs like chamomile and lavender, then expand your collection as confidence grows.
Ready to transform your skincare? Share your experience in the comments below, and explore our related posts on homemade skincare recipes and herb preservation techniques.
FAQs
Q1: How long before I can harvest my first herbs?
Most medicinal herbs reach harvestable size within 6-8 weeks. Impatient? Start with fast-growing varieties like basil and mint.
Q2: Can I grow these herbs indoors year-round?
Absolutely! With adequate lighting and humidity control, you’ll enjoy continuous harvests regardless of season.
Q3: What’s the best starting herb for beginners?
Aloe vera tops the list—incredibly forgiving, slow-growing means less maintenance, and extraordinarily beneficial for skin.
Q4: How do I know if my herbs are ready to harvest?
Plants should have at least 6 sets of true leaves. Begin with gentle harvesting—removing just a few leaves—then increase as plants mature.
Q5: Can I use fresh herbs immediately or must they be dried?
Both work! Fresh herbs offer higher moisture content (great for infusions), while dried versions concentrate beneficial compounds. Experiment with both methods.


