
Complete Guide to Creating Natural Beauty: Master DIY and Homemade Skincare Recipes at Home
Have you ever wondered why commercial skincare products cost so much, and what mysterious ingredients hide behind those fancy labels? The truth is, nature has already provided us with powerful botanical solutions that can transform your skin without the hefty price tag or harsh chemicals. Creating diy skincare recipes at home is not only budget-friendly but also empowering—giving you complete control over what touches your skin. Whether you’re dealing with acne, dryness, or sensitivity, homemade skincare recipes offer personalized solutions that mass-produced products simply cannot match. In this comprehensive guide, we’ll explore how you can become your own skincare artisan, crafting potent serums, masks, and treatments using ingredients likely already in your kitchen or easily accessible from local suppliers.
Materials & Supplies
Before diving into your skincare creation journey, gather these essential ingredients and tools:
Primary Ingredients:
– Coconut oil (virgin, cold-pressed)
– Honey (raw, unpasteurized preferred)
– Aloe vera gel (fresh or pure)
– Rose water or witch hazel
– Jojoba oil
– Sweet almond oil
– Shea butter
– Avocado
– Green tea leaves
– Turmeric powder
– Lemon juice
– Cucumber
– Chamomile tea bags
Equipment Needed:
– Glass mixing bowls (various sizes)
– Stainless steel spoons and spatulas
– Measuring cups and spoons
– Small glass jars with lids for storage
– Funnel for pouring
– Strainer or cheesecloth
– Blender or mortar and pestle
– Labels and markers
– Cotton pads or clean cloths
– Optional: small spray bottles for toners
Optional but Recommended:
– Vitamin E oil (preservative)
– Calendula extract
– Lavender essential oil
– Tea tree oil
– pH testing strips
Timing / Growing Schedule
Understanding timing is crucial for successful skincare creation. Most basic formulations require minimal preparation time—typically 15-30 minutes of active mixing and blending. However, some recipes benefit from infusion periods:
Quick-Use Recipes (Ready Immediately):
Face masks and exfoliants can be prepared and applied within 5-10 minutes, making them perfect for spontaneous skincare sessions or emergency blemish treatments.
Medium-Infusion Recipes (24-48 hours):
Oil-based serums and herbal infusions require steeping time, allowing botanical properties to fully extract into carrier oils. This waiting period maximizes efficacy without active work on your part.
Long-Term Storage (2-6 weeks):
If you’re creating larger batches, most homemade products remain viable for 2-4 weeks when stored properly in cool, dark conditions. Vitamin E oil acts as a natural preservative, extending shelf life significantly.
Seasonal Considerations:
Summer requires faster usage due to heat acceleration, while winter allows longer storage. Adjust your batch sizes accordingly to prevent waste.
Step-by-Step Instructions
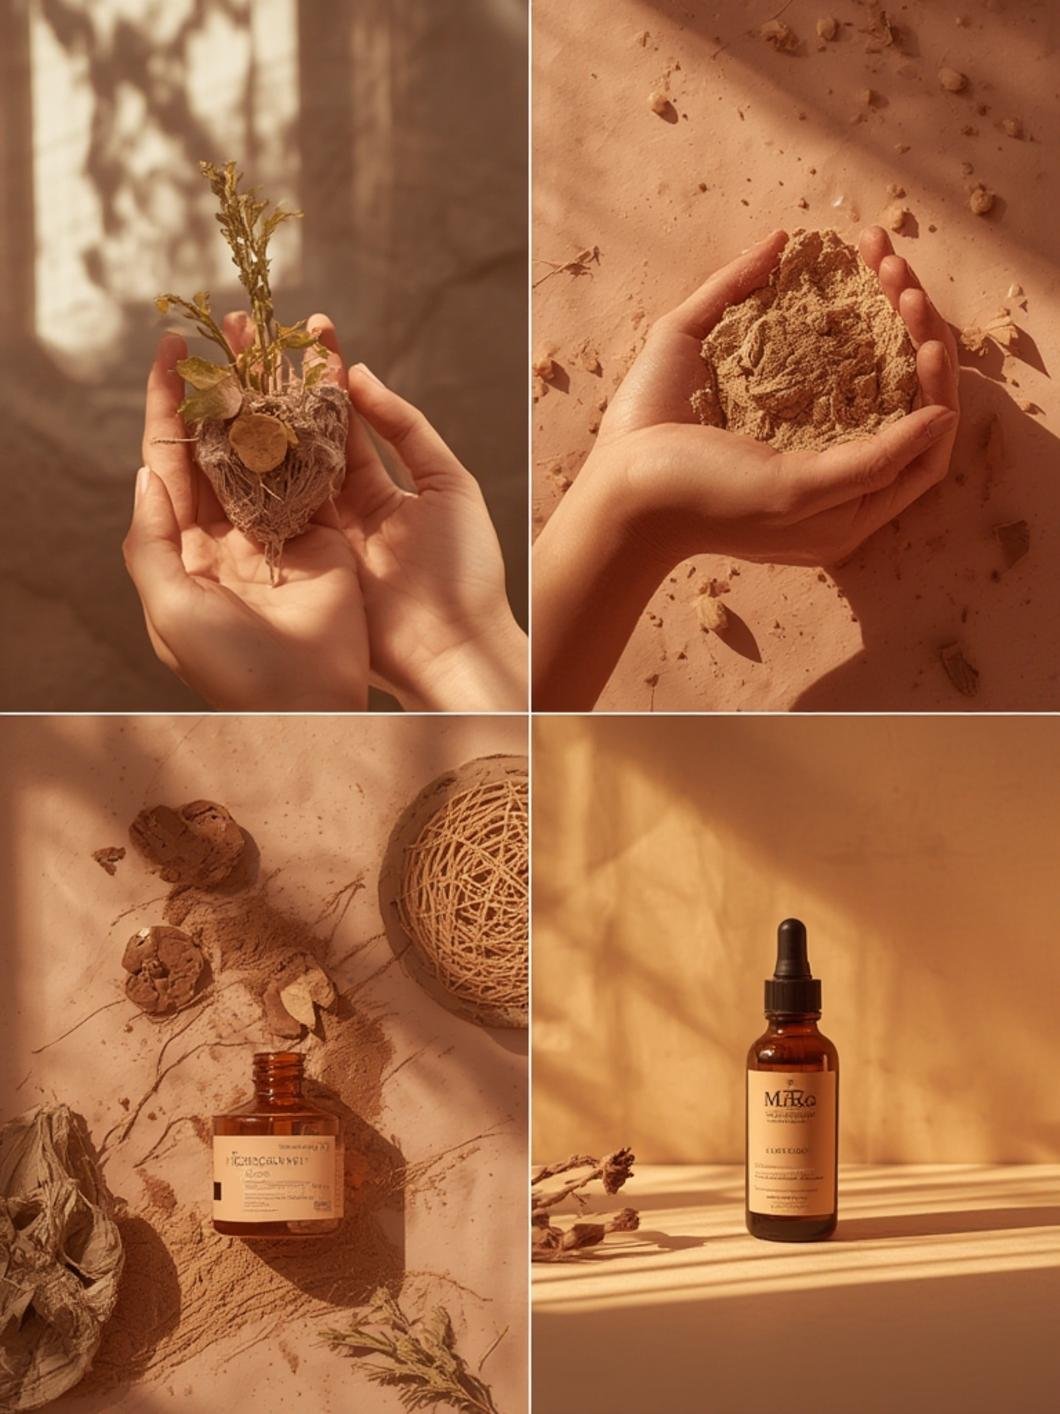
Step 1: Prepare Your Workspace
Cleanliness is paramount in skincare creation. Sanitize all equipment with hot water and soap, then air-dry completely. Any residual moisture or contamination compromises product stability. Clear a dedicated workspace away from direct sunlight.
Step 2: Identify Your Skin Type
Before formulating, determine whether your skin is oily, dry, combination, or sensitive. This crucial step ensures your diy skincare recipes address your specific needs rather than aggravating existing conditions.
Step 3: Select Your Base Ingredients
Choose primary oils or hydrosols appropriate for your skin type. Oily skin benefits from jojoba oil, while dry skin thrives with coconut or sweet almond oil. This foundational choice determines your recipe’s success.
Step 4: Mix Your Formula
Combine ingredients according to your chosen recipe ratio. Generally, start with 2 tablespoons base oil, 1 tablespoon honey, and 3-5 drops of complementary essential oils. Mix thoroughly but gently to preserve ingredient integrity.
Step 5: Test and Adjust
Apply a small amount to your inner arm or behind your ear to check for sensitivity. Wait 24 hours before full facial application. This patch test prevents unexpected reactions on visible skin.
Step 6: Store Properly
Transfer your creation into sterilized glass jars, label with contents and creation date, then store in cool, dark locations. Proper storage ensures homemade skincare recipes maintain potency throughout their shelf life.
Nutritional Benefits / Advantages
Creating skincare at home delivers extraordinary benefits beyond cost savings:
Skin Health Improvements:
Natural ingredients reduce inflammation, fight bacteria, and promote cellular regeneration without synthetic chemicals or harsh preservatives. Your skin absorbs nutrients more effectively from whole-food sources.
Customization Capacity:
Tailor formulations to address specific concerns—acne, aging, sensitivity, or hyperpigmentation—with precision impossible in commercial products designed for mass markets.
Environmental Impact:
Homemade skincare eliminates unnecessary packaging waste and reduces your carbon footprint by avoiding commercial manufacturing and shipping processes.
Cost Efficiency:
One batch typically costs 10-20% of equivalent commercial products, making premium skincare accessible to everyone regardless of budget.
Peace of Mind:
Complete ingredient transparency means knowing exactly what nourishes your skin, with zero mystery compounds or undisclosed fillers.
Tips, Alternative Methods, or Gardening Advice
Container-Friendly Solutions:
Store recipes in small mason jars, travel-size containers, or pump bottles for convenient application and portability.
Climate Adaptations:
Hot climates benefit from refrigerated storage, while cool environments allow shelf stability. Adjust oil ratios in summer—use lighter oils like jojoba instead of heavier coconut oil.
Small-Space Optimization:
Create a dedicated shelf in your bathroom or closet for ingredients and finished products, minimizing clutter while maintaining organization.
Seasonal Variations:
Switch formulations seasonally—lighter serums for summer, richer creams for winter. This approach maintains balanced skin health year-round.
Batch-Making Strategy:
Prepare multiple jars simultaneously during weekly skincare sessions, ensuring consistent supply and reducing repetitive preparation tasks.
Common Mistakes to Avoid
Mistake 1: Using Non-Sterile Equipment
Even microscopic contamination compromises product integrity and introduces bacteria. Always sanitize thoroughly before each use.
Mistake 2: Ignoring Expiration Dates
Natural products lack synthetic preservatives, limiting shelf life. Discard anything older than 4 weeks or showing color/odor changes.
Mistake 3: Skipping Patch Tests
Applying untested formulations directly to your face risks severe reactions. Always conduct 24-hour patch tests on sensitive skin areas.
Mistake 4: Over-Concentrating Essential Oils
Essential oils are powerful—excessive amounts burn rather than heal skin. Maintain ratios of 3-5 drops per ounce of base oil.
Mistake 5: Assuming One Recipe Works Forever
Seasonal changes and skin fluctuations require formula adjustments. Regularly evaluate whether your current diy skincare recipes still serve your needs.
Storage / Maintenance Tips
Proper storage ensures your skincare creations remain effective and safe:
Container Selection:
Dark glass jars protect against light degradation, while opaque plastic works in emergencies. Avoid clear containers that expose contents to light.
Temperature Control:
Store products in cool, dark areas between 60-70°F. Refrigeration extends shelf life by 2-3 weeks, particularly beneficial for water-based formulations.
Moisture Prevention:
Always use clean, dry applicators—never insert fingers directly into jars, which introduces bacteria. Wet applicators dilute your formulations and promote mold growth.
Labeling Importance:
Mark creation dates and primary ingredients clearly. This practice prevents confusion and ensures you use products within optimal timeframes.
Regular Assessments:
Monthly reviews catch deterioration signs. Discard anything exhibiting separation, unusual odors, or discoloration immediately.
Conclusion
Mastering the art of creating homemade skincare recipes transforms your beauty routine from passive consumption to active participation in your skin’s health journey. Throughout this guide, we’ve explored how straightforward preparation processes, strategic ingredient selection, and proper storage techniques enable anyone to craft professional-quality skincare at home. The combination of cost savings, complete ingredient transparency, and customizable formulations makes diy skincare recipes an increasingly popular choice among conscious consumers. Start your skincare creation journey this week by preparing a simple honey mask or oil serum—we’d love to hear about your results! Share your experiences in the comments below, and explore our related posts on natural beauty, seasonal skincare adjustments, or specific ingredient deep-dives.
FAQs
Q: How long do homemade skincare products typically last?
A: Most natural formulations remain effective for 2-4 weeks when stored properly in cool, dark conditions. Adding vitamin E oil as a natural preservative can extend shelf life to 6 weeks.
Q: Can I make diy skincare recipes without essential oils?
A: Absolutely! Essential oils enhance formulations but aren’t mandatory. Simple combinations of carrier oils, honey, and fresh ingredients work wonderfully without them.
Q: What’s the best way to test products on sensitive skin?
A: Conduct patch tests on your inner arm or behind your ear 24 hours before facial application. This approach identifies potential reactions before affecting visible skin.
Q: Are homemade skincare recipes suitable for acne-prone skin?
A: Yes! Ingredients like tea tree oil, honey, and lemon juice specifically target acne. However, always patch test first, as citrus can irritate certain sensitive skin types.
Q: Can I adjust recipes based on seasonal changes?
A: Definitely! Switch to lighter oils in summer and richer formulations in winter. This adaptive approach keeps your skin optimally balanced year-round.