
The Complete Guide to Growing and Maintaining Radiant Skin with Professional-Grade oxygen face mask skincare at Home
Introduction
Have you ever wondered how celebrities maintain that coveted, glowing complexion without spending thousands on professional spa treatments? The secret lies in understanding how to properly incorporate oxygen face mask skincare into your daily routine from the comfort of your home. In recent years, the beauty industry has witnessed a significant shift toward accessible, professional-grade skincare solutions that deliver spa-quality results at home. Growing your skincare knowledge and mastering the application of an oxygen facial mask is not merely a luxury—it’s an investment in your skin’s long-term health and radiance.
The value of caring for your skin at home extends beyond financial savings. By taking control of your skincare regimen, you gain the ability to customize treatments based on your skin type, address specific concerns like hyperpigmentation or dryness, and maintain consistent results. Professional facials are wonderful, but combining them with strategic home care using targeted products like oxygen face mask skincare creates a synergistic effect that amplifies your skin’s natural glow. Let’s explore how to unlock your skin’s full potential.
Materials & Supplies (H2)
Before beginning your professional-grade skincare journey, gather these essential materials and tools:
Core Products:
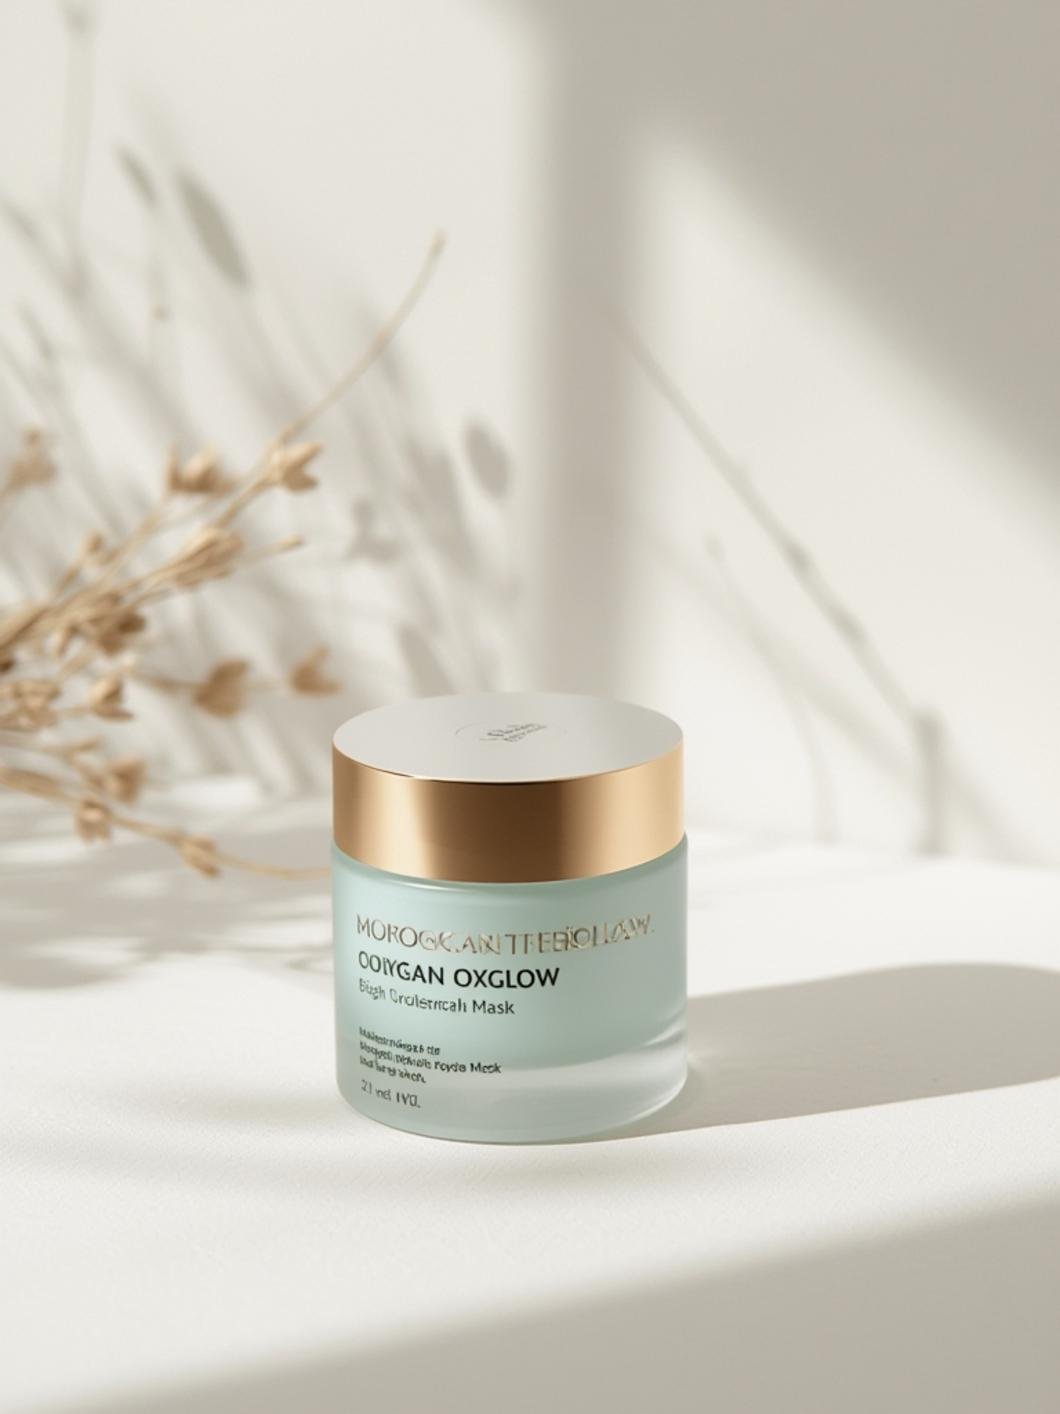
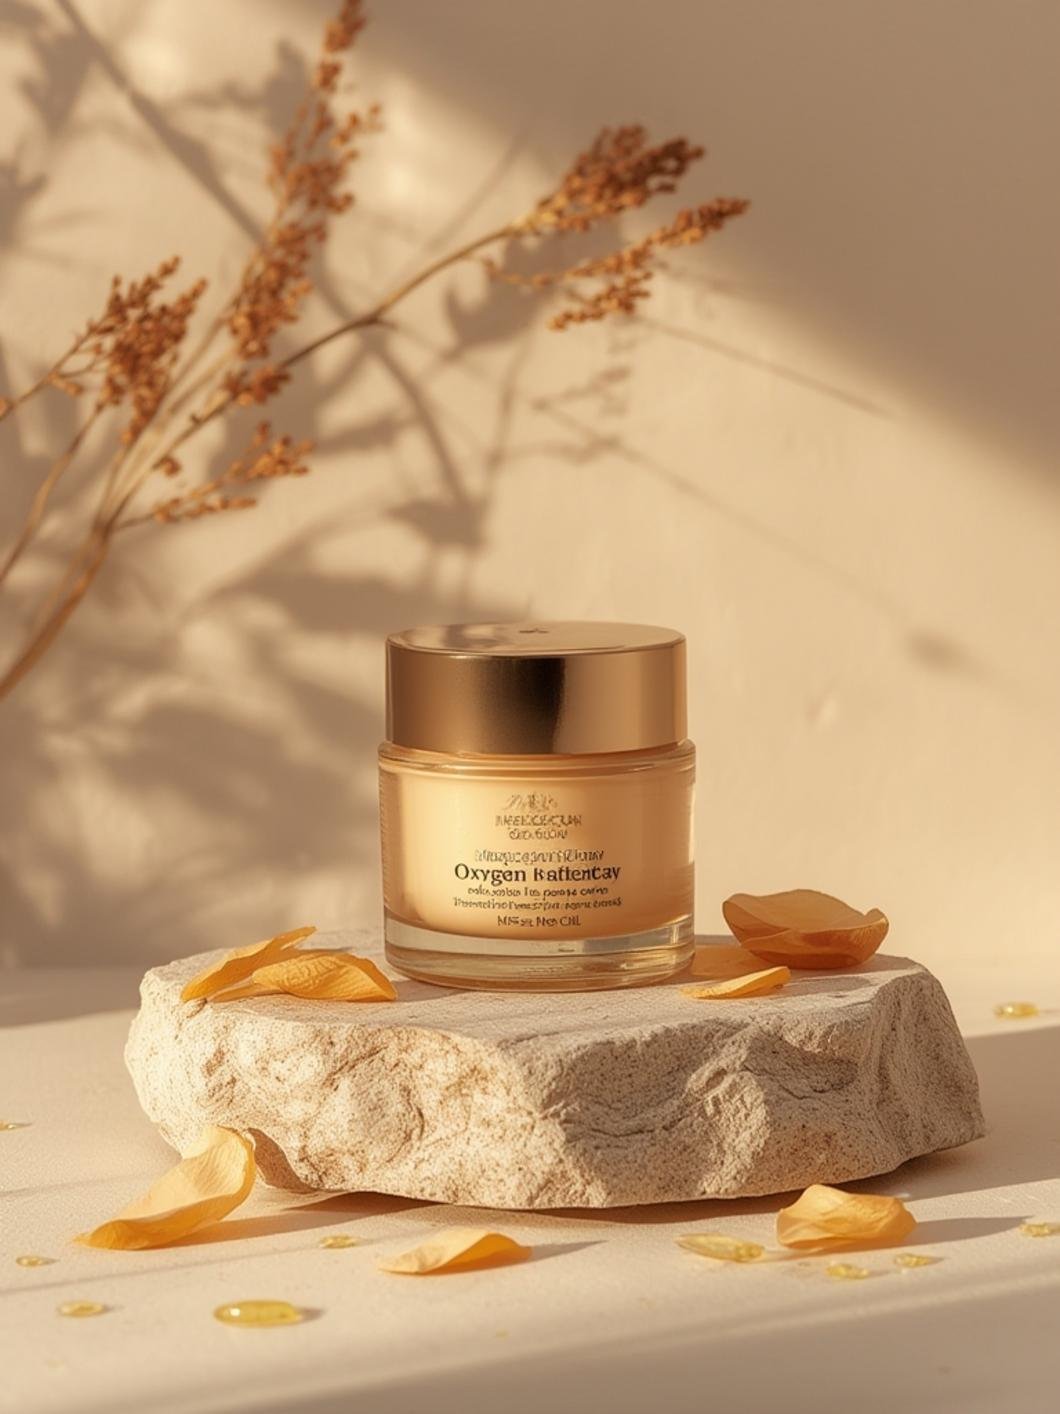
– Premium oxygen facial mask (gel or powder formulation)
– Gentle facial cleanser suitable for your skin type
– Hyaluronic acid or hydrating toner
– Serums targeting your specific skin concerns
– Lightweight moisturizer or rich facial cream
– Sunscreen (SPF 30 or higher)
Application Tools:
– Soft-bristled facial brush for cleansing
– Silicone face mask applicator brush (ensures even application)
– Facial sponges or cotton pads
– Headband or hair clip to keep hair back
– Mirror with good lighting (natural or LED)
Optional but Recommended Items:
– Facial steamer to open pores before masking
– Rose water or witch hazel for toning
– Jade roller for enhanced circulation
– Humidifier to maintain skin hydration
– Hypoallergenic towels (microfiber works excellently)
Storage Supplies:
– Dark glass jars with airtight lids
– Cool, dark storage containers
– Labels for organization and expiration dates
Each item serves a specific purpose in creating a professional spa-like experience at home, making your investment worthwhile.
Timing / Growing Schedule (H2)
Understanding the proper timeline for your skincare routine ensures optimal results:
Preparation Phase (5-7 days before):
Begin by assessing your current skin condition and any specific concerns. This preparation period allows you to identify whether your skin needs hydration, purification, or targeted treatment before applying your oxygen facial mask treatment.
Initial Application Phase (First 2 weeks):
Use your oxygen-infused treatment 1-2 times per week as your skin adjusts to the active ingredients. This frequency allows your skin barrier to build tolerance while experiencing noticeable brightening.
Active Treatment Phase (Weeks 3-8):
Increase to 2-3 applications weekly for maximum benefits. Most users report visible improvements in skin texture, clarity, and luminosity within 4-6 weeks of consistent use with quality oxygen facial mask products.
Maintenance Phase (Ongoing):
Once you’ve achieved desired results, reduce frequency to 1-2 times weekly to maintain radiance and prevent overuse complications.
Step-by-Step Instructions (H2)
Follow these detailed steps for professional results:
Step 1: Cleanse Thoroughly (3-5 minutes)
Begin with a gentle cleanser to remove makeup, dirt, and impurities. Use lukewarm water and your soft-bristled brush in circular motions. This crucial step ensures your oxygen face mask skincare penetrates deeply without barriers.
Step 2: Pat Dry and Tone (2 minutes)
Gently pat skin with a microfiber towel—never rub. Apply hydrating toner or rose water to prepare your skin for maximum absorption of the mask’s beneficial ingredients.
Step 3: Apply Eye Cream (1 minute)
Use your ring finger to gently tap eye cream around the orbital bone, avoiding direct contact with your oxygen facial mask application.
Step 4: Prepare the Mask (2 minutes)
Follow product instructions carefully. If powder-based, mix with the recommended hydrating liquid. For gel formulations, warm slightly between your hands before application.
Step 5: Apply Evenly (5 minutes)
Using your silicone brush, apply a uniform, quarter-inch layer across your face, neck, and décolletage. Avoid the eye area and lips. Work systematically from the center outward for even coverage.
Step 6: Set a Timer (15-20 minutes)
Allow the oxygen facial mask to work its magic. During this time, practice relaxation breathing to enhance the spa experience and improve circulation.
Step 7: Remove Gently (2-3 minutes)
Use lukewarm water or a damp sponge to remove the mask completely. Pat skin dry with utmost gentleness.
Step 8: Complete Your Routine (3 minutes)
Apply your regular serum, moisturizer, and sunscreen to seal in the treatment’s benefits.
Nutritional Benefits / Advantages (H2)
Understanding the advantages of incorporating oxygen facial mask treatments into your routine illuminates why dermatologists recommend them:
Enhanced Cellular Oxygenation:
Oxygen penetrates the skin barrier, stimulating cellular metabolism and promoting natural detoxification. This increased oxygenation encourages the production of ATP (cellular energy), resulting in more youthful, vibrant skin.
Improved Hydration and Plumpness:
These masks typically contain hyaluronic acid and humectants that draw moisture from the environment into your skin, reducing fine lines and creating a dewy appearance.
Collagen and Elastin Stimulation:
Regular use encourages your skin’s natural production of collagen and elastin, improving elasticity and firmness over time.
Antioxidant Protection:
Most oxygen facial masks contain vitamins C and E, providing protection against environmental stressors and free radical damage.
Improved Skin Texture and Clarity:
Users report smoother skin texture, reduced pore appearance, and a more even skin tone within weeks of consistent application.
Mental Wellness Benefits:
The ritual of self-care promotes stress reduction, which directly impacts skin health by lowering cortisol levels.
Tips, Alternative Methods, or Gardening Advice (H2)
Maximize your results with these professional recommendations:
Container and Space Optimization:
Create a dedicated skincare station in your bedroom or bathroom. Organize products in order of application for a streamlined routine—even in small spaces, this organization improves consistency.
Climate Considerations:
In humid climates, use lighter oxygen facial mask formulations. In dry climates, follow with richer moisturizers to combat environmental stressors.
Seasonal Adjustments:
During winter, increase hydrating elements. In summer, opt for lightweight, oil-free formulations that won’t feel heavy.
Alternative Application Methods:
– Sheet masks with oxygen-infusing properties for busy schedules
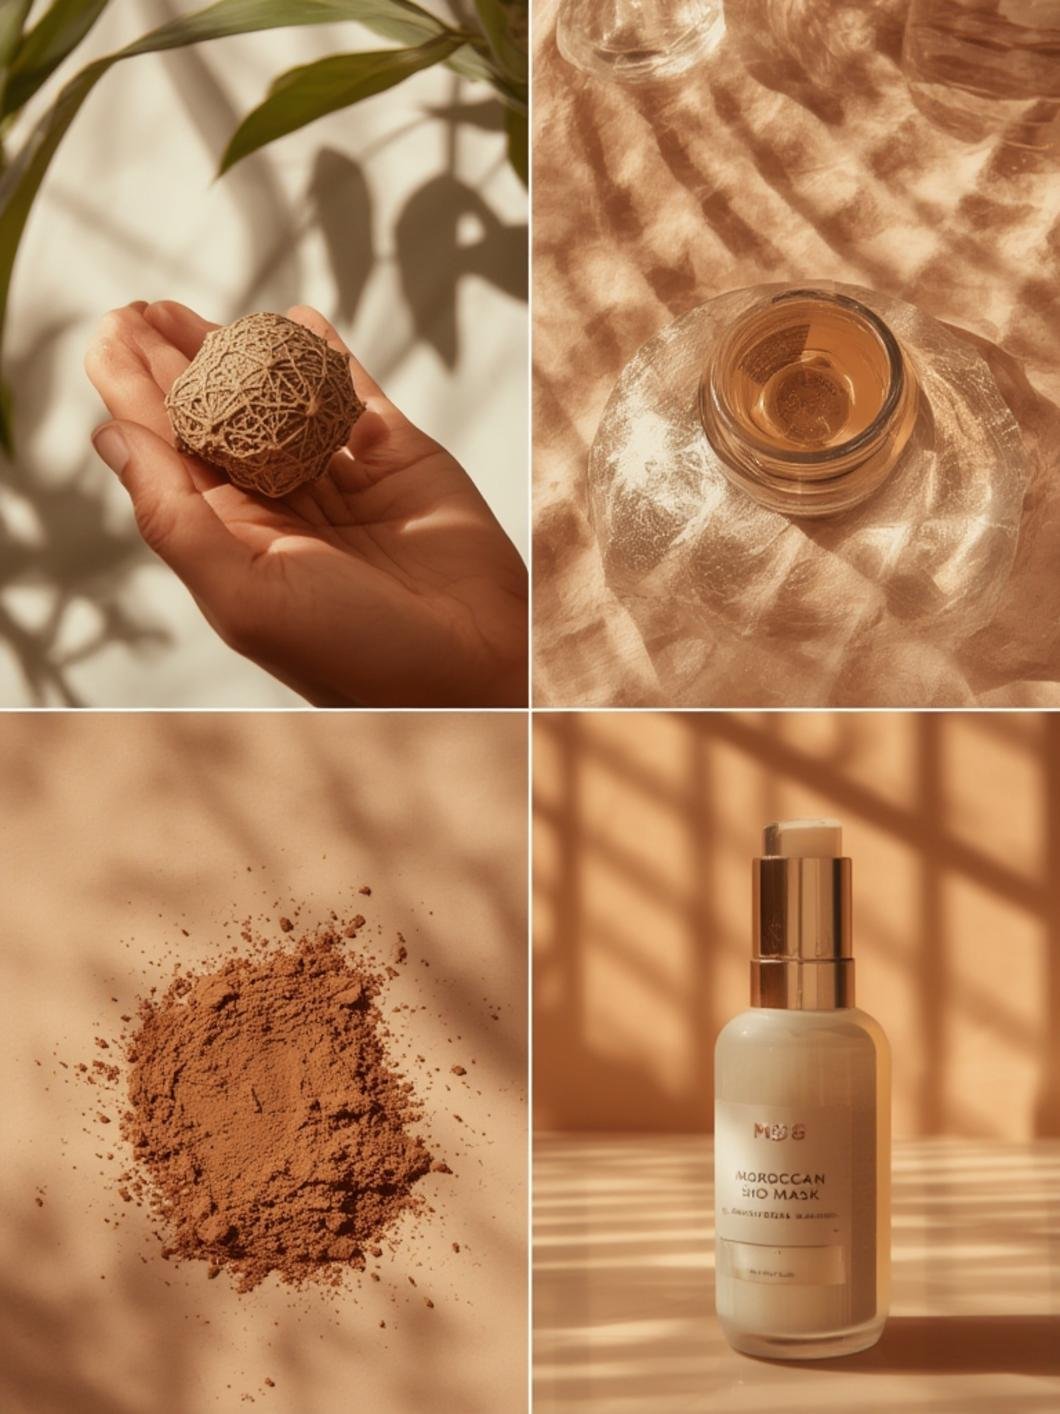
– DIY oxygen masks combining aloe vera with pearl powder
– Professional oxygen facials at spas monthly, supplemented with home care
Customization Tips:
Layer serums before application, add essential oils (properly diluted) for aromatherapy benefits, or mix with honey for enhanced hydration.
Common Mistakes to Avoid (H2)
Prevent these frequent errors:
Mistake 1: Applying to Unclean Skin
Solution: Always cleanse thoroughly first. Dirt and makeup prevent proper oxygen penetration and can trap bacteria.
Mistake 2: Over-Application
Solution: Use less product than you think necessary. A quarter-inch layer is sufficient; thicker applications don’t improve results and may irritate skin.
Mistake 3: Exceeding Recommended Frequency
Solution: Limit use to 2-3 times weekly maximum. Overuse disrupts your skin barrier and causes sensitivity.
Mistake 4: Neglecting the Neck and Décolletage
Solution: These areas show age first and deserve equal attention. Always extend your oxygen facial mask application downward.
Mistake 5: Removing Too Aggressively
Solution: Use gentle, circular motions with lukewarm water and a soft sponge—never scrub harshly.
Mistake 6: Skipping Sunscreen After Treatment
Solution: Your skin is more sensitive post-treatment. SPF is non-negotiable to prevent photosensitivity damage.
Storage / Maintenance Tips (H2)
Proper maintenance ensures longevity and efficacy:
Storage Guidelines:
– Keep oxygen facial masks in cool, dark locations away from direct sunlight
– Maintain temperatures between 60-75°F (15-24°C)
– Store in airtight containers to prevent ingredient oxidation
– Label all products with purchase dates and expiration information
– Keep away from humidity and moisture sources
Between-Application Care:
– Cleanse your silicone brush applicator after each use with mild soap and warm water
– Allow tools to air-dry completely before storing
– Replace sponges and applicators monthly to prevent bacterial buildup
Ongoing Skin Maintenance:
– Cleanse twice daily with gentle products
– Apply serums and moisturizers consistently
– Use sunscreen daily (reapply every 2 hours outdoors)
– Stay hydrated internally by drinking 8-10 glasses of water daily
– Adjust routine seasonally based on humidity and temperature changes
Long-Term Consistency:
Create a skincare journal documenting application dates, skin condition observations, and results. This record helps identify patterns and optimize your regimen over time.
Conclusion (H2)
Mastering the art of home skincare with professional-grade oxygen face mask skincare products transforms not just your complexion but your entire self-care routine. By following this comprehensive guide, you’ve learned how to select quality products, apply them correctly, and maintain consistent results. The investment in proper oxygen facial mask applications pays dividends in radiant, youthful-looking skin that rivals professional spa treatments.
Key takeaways include the importance of proper preparation, consistent frequency, and complementary skincare practices. The journey to luminous skin isn’t complicated—it requires dedication, quality products, and the knowledge to use them effectively.
Ready to transform your skin? Start implementing these strategies this week. Begin with one quality oxygen facial mask product and commit to consistent use for 6 weeks. Document your progress with before-and-after photos, and share your skincare journey in the comments below. Explore our related posts on serum layering techniques and professional-grade skincare routines to deepen your knowledge. Your best skin awaits!
FAQs (H2)
Q1: How often should beginners use oxygen facial masks?
A: Beginners should start with once weekly for the first two weeks, then progress to twice weekly as their skin adjusts. Listen to your skin and reduce frequency if irritation occurs.
Q2: Can oxygen facial masks be used with sensitive skin?
A: Yes, but choose formulations specifically designed for sensitive skin and patch-test first. Start with the lowest recommended frequency and gradually increase as tolerance builds.
Q3: What’s the difference between oxygen facial masks and sheet masks?
A: Oxygen masks offer deeper penetration and active oxygenation, while sheet masks provide hydration. They serve different purposes—oxygen masks address cellular metabolism while sheet masks focus on moisture delivery.
Q4: Can I apply makeup immediately after an oxygen facial mask treatment?
A: Wait at least 30 minutes after application. Your skin is more permeable post-treatment, and immediate makeup can trap bacteria and irritate freshly treated skin.
Q5: How long before I see visible results?
A: Most users notice improved skin texture and brightness within 2-3 weeks of consistent use. More dramatic changes in firmness and fine line reduction appear after 6-8 weeks of regular application.


