
How to Grow and Care for Aloe Vera Plants at Home
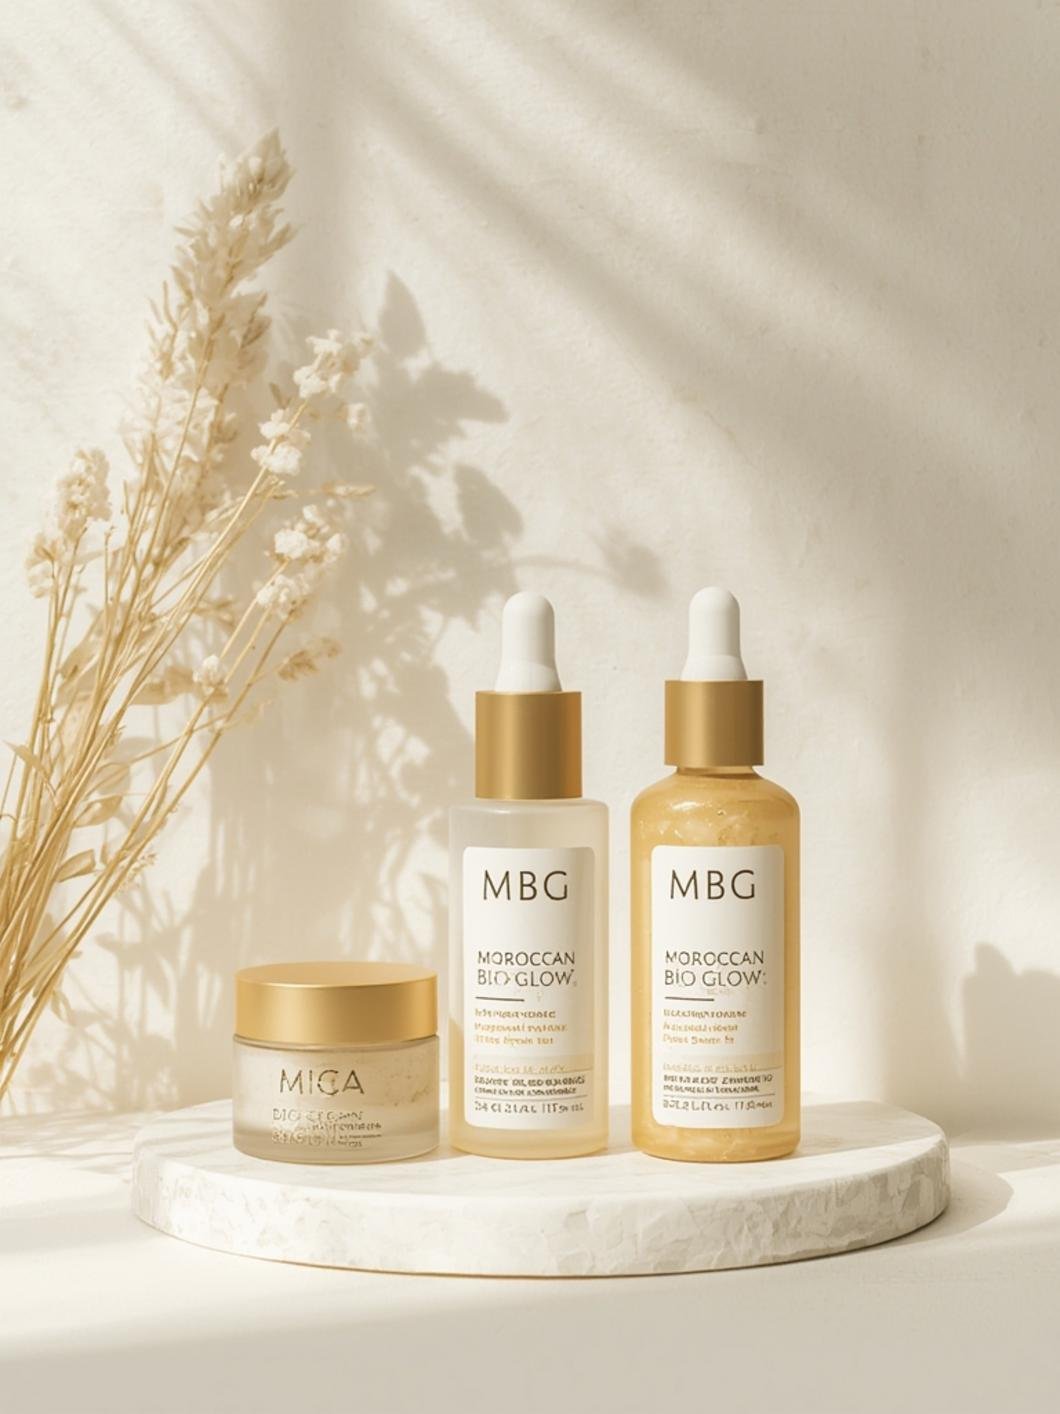
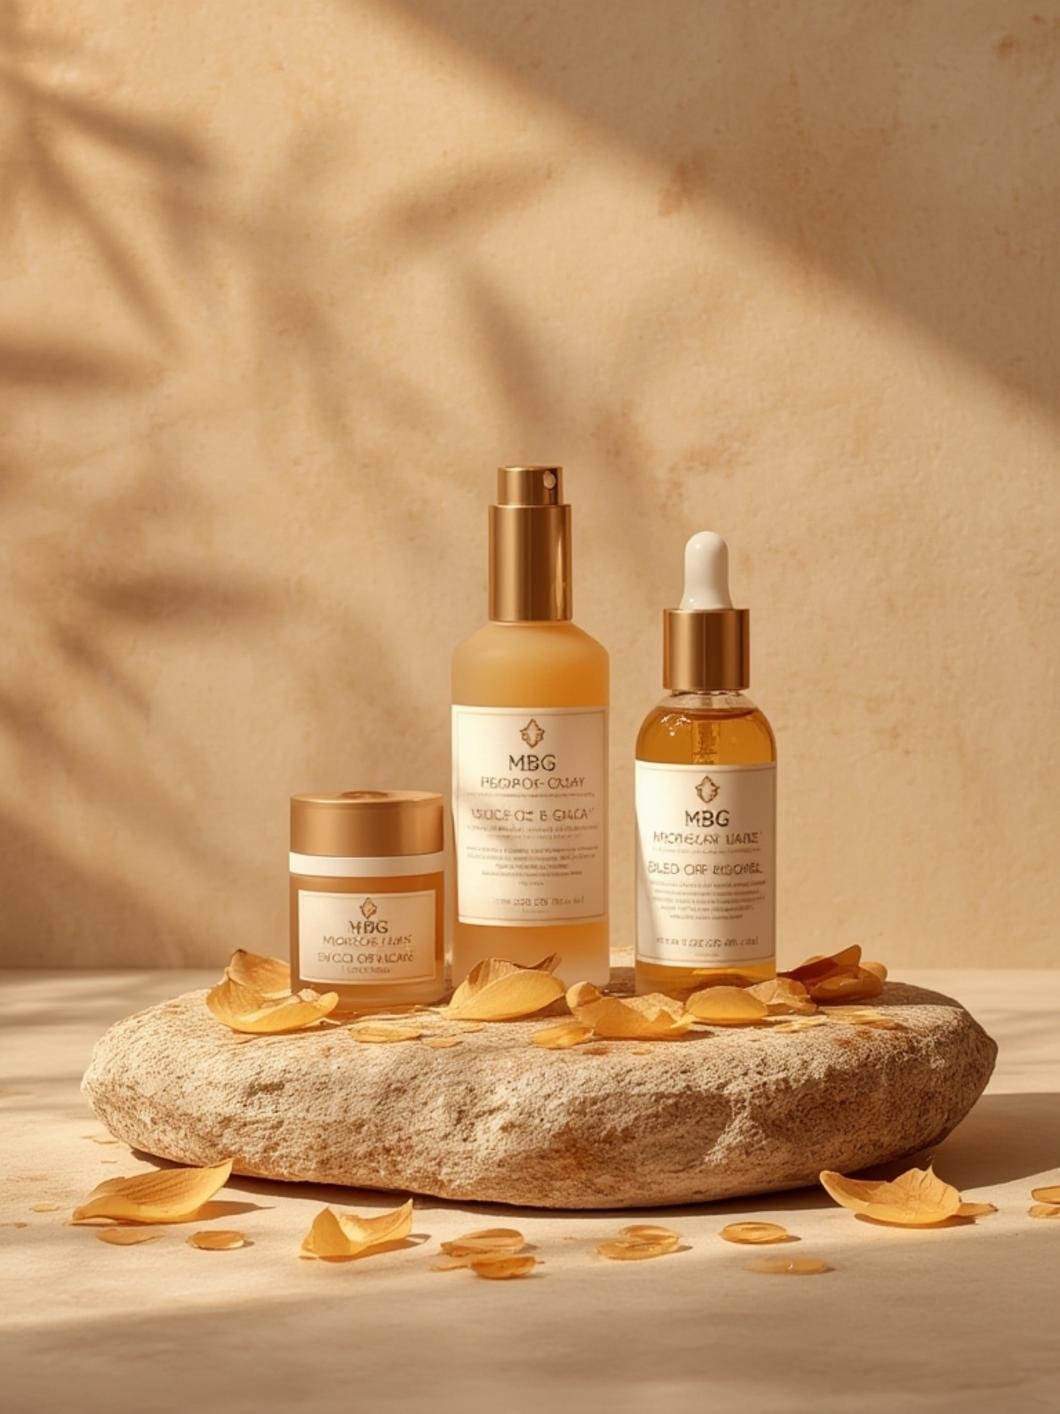
Have you ever considered adding the versatility of aloe vera to your indoor garden? This remarkable succulent not only adds a touch of green to your living space but also provides incredible healing benefits right at your fingertips. Growing aloe vera at home allows you to harness its medicinal properties while contributing to the rising trend of organic beauty products 2026 made from natural ingredients. As more people seek sustainable organic beauty brand 2026 options, learning to grow your own healing plants has never been more relevant.
Materials & Supplies
To successfully grow aloe vera at home, you’ll need:
1. Aloe Vera Plant or Pups: Either purchase a small plant from a nursery or obtain offsets (pups) from a mature plant.
2. Well-Draining Pot: Choose a container with drainage holes, preferably terracotta which helps wick away excess moisture.
3. Cactus or Succulent Soil Mix: Regular potting soil retains too much moisture for aloe plants.
4. Perlite or Coarse Sand: To improve drainage if you’re creating your own soil mix.
5. Small Rocks or Pebbles: For the bottom of the pot to ensure proper drainage.
6. Watering Can: With a narrow spout for controlled watering.
7. Spray Bottle: For occasional misting (especially in dry environments).
8. Sharp, Clean Scissors or Knife: For harvesting leaves or removing pups.
9. Liquid Succulent Fertilizer (optional): For occasional feeding during growing seasons.
Timing / Growing Schedule
Aloe vera is a year-round indoor plant but follows seasonal growth patterns:
Spring/Summer (Growth Season):
– Fastest growth occurs during these months
– Water approximately every 2-3 weeks
– Apply fertilizer once monthly (if desired)
Fall/Winter (Dormant Period):
– Growth slows significantly
– Reduce watering to once a month or less
– Withhold fertilizer entirely
From planting to harvesting mature leaves, expect about 3-4 months. For a fully mature plant with multiple harvestable leaves, allow 8-12 months. Compared to most medicinal herbs, aloe vera requires minimal attention while providing years of usable material.
Step-by-Step Instructions
1. Prepare Your Pot: Place a layer of small rocks at the bottom of your container to ensure proper drainage. This prevents root rot, the most common cause of aloe death.
2. Fill With Proper Soil: Add cactus/succulent soil mix to about ¾ of the pot. If making your own mix, combine regular potting soil with perlite or sand at a ratio of 1:1.
3. Position Your Plant: Create a small depression in the soil and place your aloe plant, ensuring the root ball is completely covered. The base of the plant should sit slightly below the pot’s rim.
4. Add Finishing Soil: Gently fill around the plant with additional soil, pressing lightly to secure the plant without compacting too firmly.
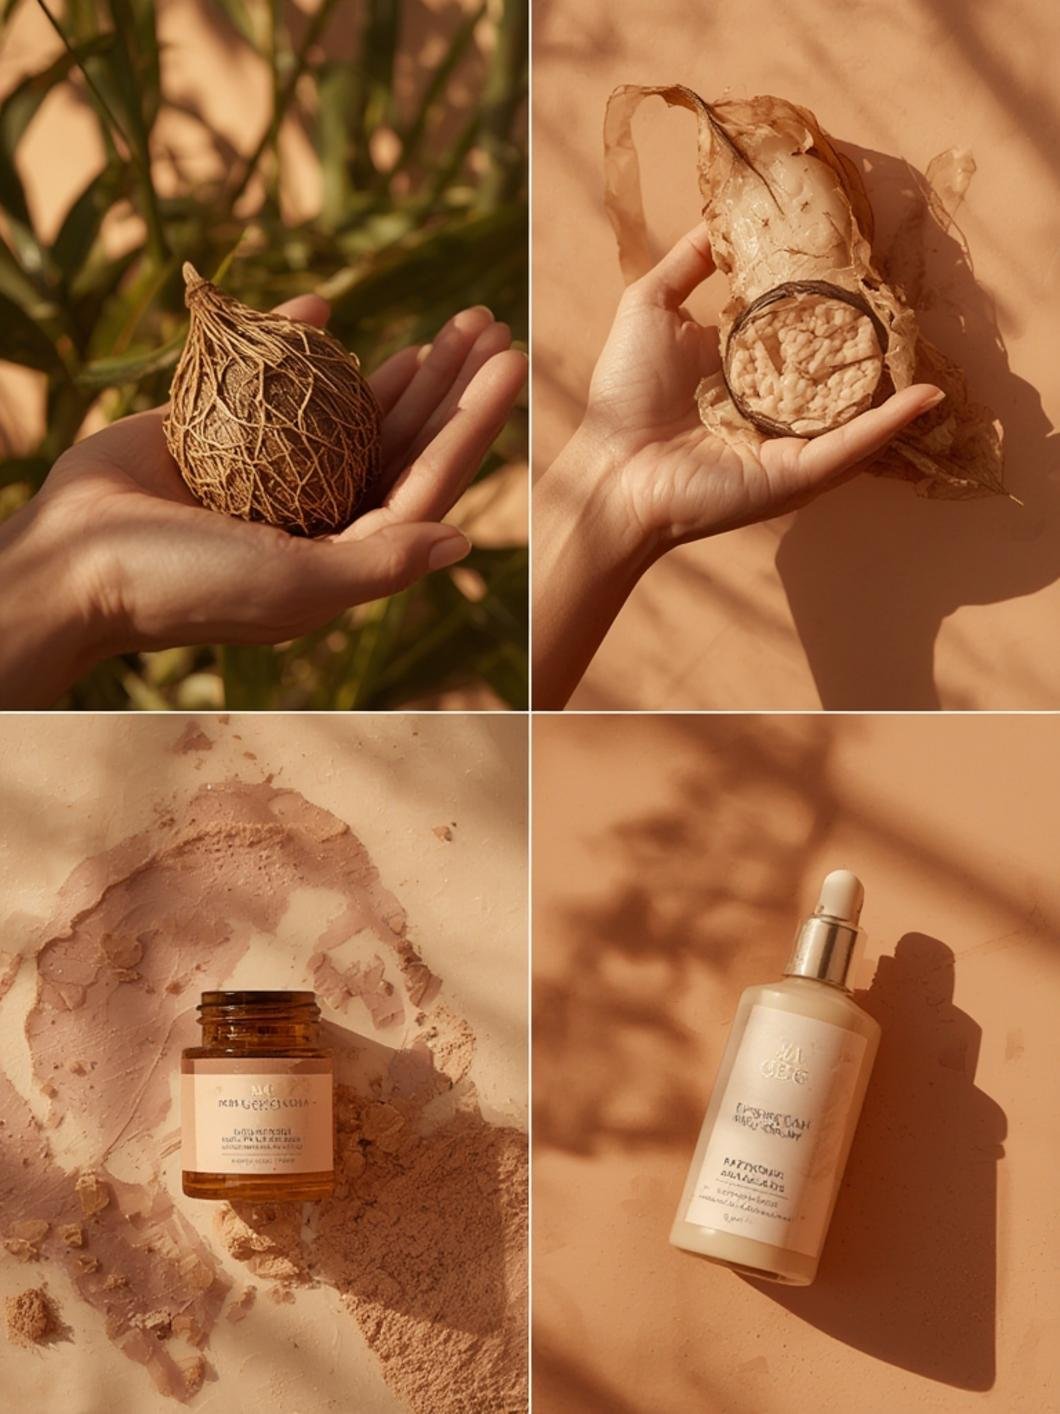
5. Initial Watering: Water thoroughly until it drains from the bottom, then allow the soil to dry completely before watering again. This promotes deeper root growth, which is essential for future organic beauty products 2026 harvesting.
6. Placement: Position your aloe in bright, indirect sunlight. South or west-facing windows are ideal for most homes.
7. Establish Care Routine: Develop a watering schedule based on your climate and season, always letting the soil dry completely between waterings. In most environments, this means watering every 2-3 weeks.
Nutritional Benefits / Advantages
Aloe vera offers remarkable benefits when grown at home:
– Rich in Antioxidants: Contains vitamins A, C, and E that fight free radicals
– Anti-inflammatory Properties: Helps reduce skin irritation and inflammation
– Natural Moisturizer: Perfect for DIY skin care formulations
– Digestive Health: When properly prepared, can aid digestive issues
– First Aid Ready: Provides immediate relief for minor burns, sunburns, and skin irritations
– Immune System Support: Contains polysaccharides that support immune function
– Sustainable Beauty Source: Creates zero-waste options for personal care
Tips, Alternative Methods, or Gardening Advice
– Propagation Method: Allow pups (baby plants) to reach about 3-4 inches before separating from the mother plant for a new pot
– Container Selection: Use wider rather than deeper pots as aloe has a shallow root system
– Water Therapy: If your aloe becomes dehydrated (thin, curling leaves), place the entire pot in a water bath for 30 minutes
– Space Optimization: Create an aloe wall garden using vertical planters for small spaces
– Growth Boosting: Rotate your plant quarterly to ensure even growth and sun exposure
Common Mistakes to Avoid
1. Overwatering: The most common mistake; wait until soil is completely dry before watering again
2. Insufficient Light: Results in leggy, pale plants that stretch toward light sources
3. Using Regular Potting Soil: Retains too much moisture, leading to root rot
4. Ignoring Drainage: Never use pots without drainage holes
5. Harvesting Too Young: Wait until your plant has at least 12 leaves before beginning to harvest
6. Cold Exposure: Protect from temperatures below 50°F (10°C)
Storage / Maintenance Tips
– Leaf Harvesting: Cut outer, mature leaves at the base using clean scissors
– Leaf Storage: Harvested leaves can be stored upright in the refrigerator for up to two weeks
– Gel Extraction: Slice open leaves lengthwise and scrape out the clear gel for immediate use or storage
– Gel Preservation: Mix with vitamin E oil and store in airtight containers in the refrigerator for up to a week
– Repotting: Transfer to a larger container every 2-3 years in spring
– Pruning: Remove damaged or browning leaves to maintain plant health and appearance
Conclusion
Growing aloe vera at home provides you with an endless supply of this versatile healing plant while contributing to sustainable living practices. By following these simple care guidelines, you’ll create a thriving plant that can be used in DIY sustainable organic beauty brand 2026 formulations right in your home. Whether you’re using it for minor burns, skin hydration, or incorporating it into homemade skincare products, your aloe vera plant will become an invaluable addition to your indoor garden. Start growing today and experience the satisfaction of creating your own natural remedies!
FAQs
How often should I water my aloe vera plant?
Allow the soil to completely dry between waterings—typically every 2-3 weeks in summer and once a month or less in winter. Always check soil moisture by inserting your finger about 2 inches deep.
Can aloe vera grow in low light conditions?
While aloe can survive in medium light, it thrives in bright, indirect sunlight. Without adequate light, it will become leggy, pale, and produce fewer healing compounds in its leaves.
How do I know if my aloe plant is healthy?
A healthy aloe has plump, firm leaves with a blue-green or gray-green color. The leaves should grow upward and outward from the center, and the plant should produce new leaves regularly during growing season.
Is it safe to use homegrown aloe directly on skin?
Yes, fresh aloe gel from home-grown plants can be applied directly to the skin for burns, cuts, and irritations. Just ensure you’re using only the clear gel and wash off any yellow sap (aloin) which can irritate sensitive skin.
Why are my aloe vera’s leaves getting thin and curling?
Thin, curling leaves typically indicate underwatering. Give your plant a thorough soak and consider adjusting your watering schedule. If leaves are soft and mushy instead, this indicates overwatering.


