Complete Guide to Growing and Maintaining Fresh Herbs for Your Home Skincare Routine
Introduction
Have you ever considered that the most effective beauty solutions might be growing right in your garden or on your windowsill? Many people spend hundreds of dollars on commercial skincare products without realizing that cultivating a fresh skincare garden can revolutionize their daily routine. The beauty industry has long promoted the benefits of natural ingredients, yet countless consumers overlook the power of homegrown botanical remedies. Growing herbs and plants specifically designed for skincare offers not only superior quality but also complete control over what touches your skin—no harsh chemicals, no unnecessary additives, just pure nature.
Adopting a natural beauty regimen has become increasingly popular among health-conscious individuals seeking sustainable alternatives to commercial cosmetics. When you cultivate your own skincare ingredients at home, you’re not merely saving money; you’re investing in a holistic wellness approach that connects you to nature’s healing properties. This comprehensive guide will walk you through everything you need to know about establishing your personal skincare garden, from selecting the right plants to harvesting and utilizing them effectively.
Materials & Supplies
Before embarking on your journey toward cultivating a personal skincare garden, you’ll need to gather the appropriate materials and tools. Here’s everything you should prepare:
Essential Items:
– Plant containers (6-12 inches in diameter, with drainage holes)
– High-quality potting soil (organic, well-draining mix)
– Herb seeds or seedlings (chamomile, lavender, calendula, aloe vera, rose, mint)
– Watering can (with a gentle spray nozzle)
– Pruning shears (sterilized, for harvesting)
– Gardening gloves (optional but protective)
– Fertilizer (organic, NPK balanced formula)
– pH testing kit (to monitor soil acidity)
– Grow lights (if growing indoors without direct sunlight)
– Plant labels (to identify different herbs)
Optional but Helpful Items:
– Humidity meter for monitoring moisture levels
– Raised garden beds for outdoor cultivation
– Mulch for soil moisture retention
– Pest control spray (organic, neem oil-based)
– Greenhouse or plant shelving unit
– Propagation tray for starting seeds
Timing / Growing Schedule

Understanding the proper timing for your skincare garden is crucial for success. Most herbs require different preparation periods, and knowing these timelines helps you plan effectively.
Seed Starting Phase: Begin seeds indoors 6-8 weeks before your last frost date. This preparation period typically lasts 2-3 weeks until germination occurs.
Growth Period: Once germinated, most skincare herbs require 4-8 weeks to develop substantial foliage. Lavender and roses may take slightly longer (8-12 weeks), while fast-growing varieties like mint can reach harvestable size in 4-6 weeks.
Expected Harvest Timeline: You can begin harvesting leaves when plants have established 6-8 true leaves, usually 8-10 weeks after planting. Continuous harvesting encourages bushier growth, extending your productive season throughout spring, summer, and early fall.
Seasonal Considerations: In temperate climates, outdoor gardens flourish March through October, while indoor hydroponic systems operate year-round. Plan successive plantings every 2-3 weeks for continuous supply.
Step-by-Step Instructions
Step 1: Select Your Location
Choose a spot receiving 6-8 hours of daily sunlight for outdoor growing. If growing indoors, position containers near south-facing windows or beneath grow lights. Ensure adequate air circulation to prevent fungal issues. Your growing environment directly impacts the potency of your fresh skincare ingredients.
Step 2: Prepare Your Soil
Mix premium potting soil with compost in a 2:1 ratio to enhance nutrient content. Ensure the mixture drains well—herbs despise waterlogged conditions. Test soil pH (ideally 6.0-7.0 for most skincare herbs) and adjust accordingly using lime or sulfur.
Step 3: Plant Your Seeds or Seedlings
Fill containers with prepared soil, leaving half an inch from the rim. Plant seeds at depths specified on their packets (typically ¼ inch for small seeds). Water gently using a spray bottle to avoid displacing seeds. For seedlings, gently transplant while protecting delicate roots.
Step 4: Implement Proper Watering Practices
Water when the top inch of soil feels dry to the touch. Most skincare herbs prefer consistent moisture without saturation. Morning watering is optimal, allowing foliage to dry before evening. Drip irrigation systems work excellently for maintaining your natural beauty regimen garden.
Step 5: Provide Adequate Light
Ensure 12-14 hours of light daily. If natural sunlight is insufficient, supplement with full-spectrum LED grow lights positioned 12 inches above plants. Monitor leaf color—pale leaves indicate inadequate light.
Step 6: Fertilize Appropriately
Apply balanced organic fertilizer every 3-4 weeks during active growth. Use half-strength formulations to avoid nutrient burn, particularly crucial for herbs you’ll apply directly to skin.
Step 7: Monitor and Adjust
Check plants weekly for pest presence, disease symptoms, or nutrient deficiencies. Maintain a growing journal tracking observations, adjustments made, and results achieved.
Nutritional Benefits / Advantages
Growing your own skincare ingredients provides extraordinary benefits beyond traditional cosmetic use. Here’s why establishing a home skincare garden is genuinely worthwhile:
Superior Potency: Homegrown herbs contain maximum active compounds harvested at peak maturity, unlike commercial products sitting in warehouses for months.
Chemical-Free Excellence: Complete control eliminates pesticides, synthetic preservatives, and harmful additives commonly found in store-bought skincare products.
Cost Efficiency: One small herb plant provides months of skincare ingredients at a fraction of commercial product costs—truly exceptional value.
Customization Capability: Develop personalized skincare solutions tailored to your specific skin type and concerns rather than accepting one-size-fits-all commercial offerings.
Environmental Sustainability: Home cultivation reduces packaging waste and transportation emissions associated with commercial beauty products.
Therapeutic Connection: Gardening itself provides mental health benefits, stress reduction, and mindfulness practices that enhance overall wellness.
Tips, Alternative Methods, or Gardening Advice
Container Gardening Excellence: Use recycled containers with drainage holes for budget-friendly cultivation. Containers suit apartment dwellers and those with limited outdoor space perfectly.
Vertical Growing Systems: Install wall-mounted planters or tiered shelving to maximize growing space in small urban environments.
Hydroponics Innovation: Soilless growing systems provide faster growth rates and greater water efficiency than traditional methods—ideal for year-round indoor cultivation.
Companion Planting: Grow herbs together strategically; mint thrives alongside chamomile, while lavender pairs well with rosemary, creating mutually beneficial growing environments.
Seasonal Adjustments: In cold climates, transition containers indoors during winter months or create cold frames extending outdoor growing seasons.
Organic Methods: Incorporate natural pest control using neem oil, insecticidal soap, and beneficial insects rather than chemical treatments.
Common Mistakes to Avoid
Overwatering Catastrophe: Excessive watering causes root rot more frequently than any other gardening mistake. Allow soil to dry slightly between waterings.
Insufficient Light Provision: Pale, leggy growth indicates inadequate lighting. Increase light exposure immediately through repositioning or supplemental grow lights.
Neglecting Humidity Control: Low humidity environments stress plants, particularly tropical varieties. Increase humidity through misting, grouping plants together, or using humidifiers.
Incorrect Fertilization: Over-fertilizing damages plants and concentrates salt residue, potentially irritating skin when applied topically. Stick to recommended dosages religiously.
Disease Neglect: Address fungal infections, powdery mildew, or pest infestations immediately before spreading to other plants. Remove affected leaves promptly and improve air circulation.
Inconsistent Harvesting: Failing to harvest regularly prevents bushier growth and encourages flowering prematurely. Regular harvesting extends production significantly.
Storage / Maintenance Tips
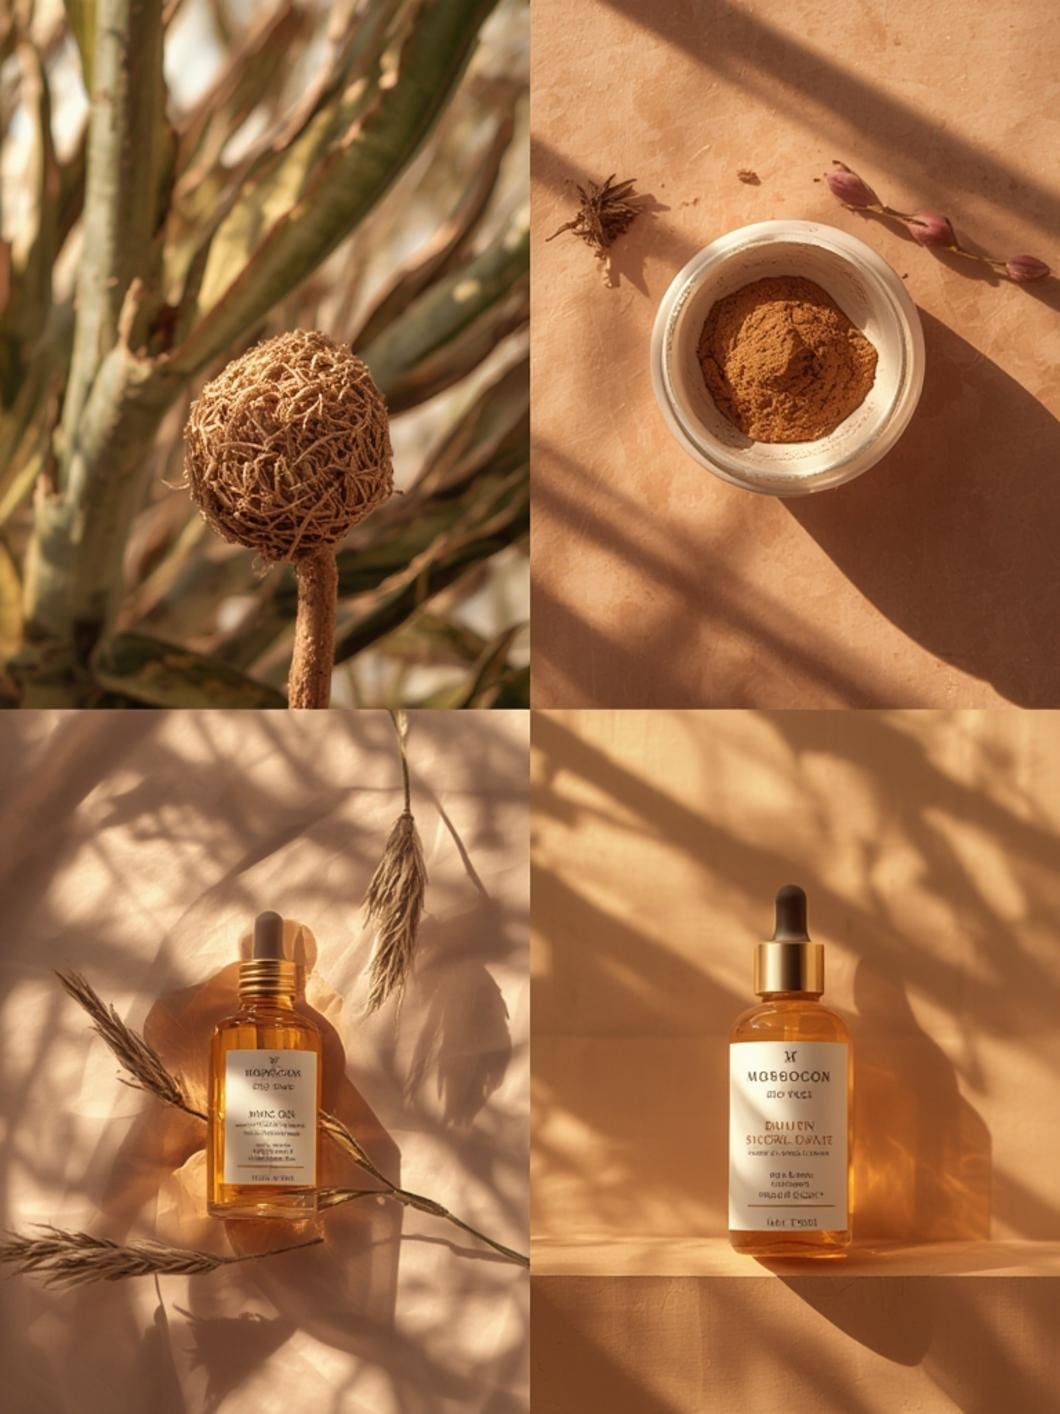
Harvesting Best Practices: Pick leaves in early morning after dew evaporates but before intense afternoon heat. Use sterilized pruning shears, harvesting from the top downward to encourage branching.
Fresh Storage Methods: Store fresh-harvested herbs in refrigerator containers with paper towels absorbing excess moisture. Most herbs stay fresh 1-2 weeks refrigerated.
Drying Preservation: Bundle stems with twine and hang upside-down in warm, dry, well-ventilated areas for 2-3 weeks. Store dried herbs in glass containers away from direct sunlight.
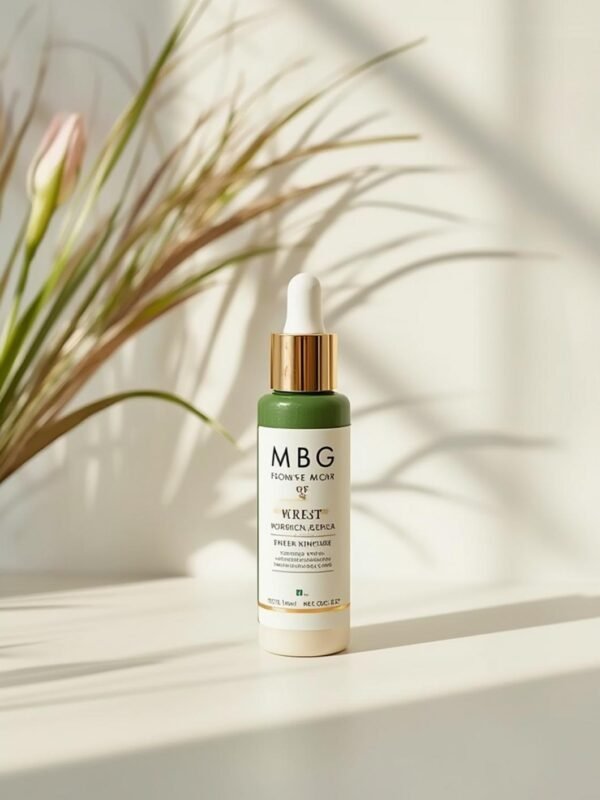
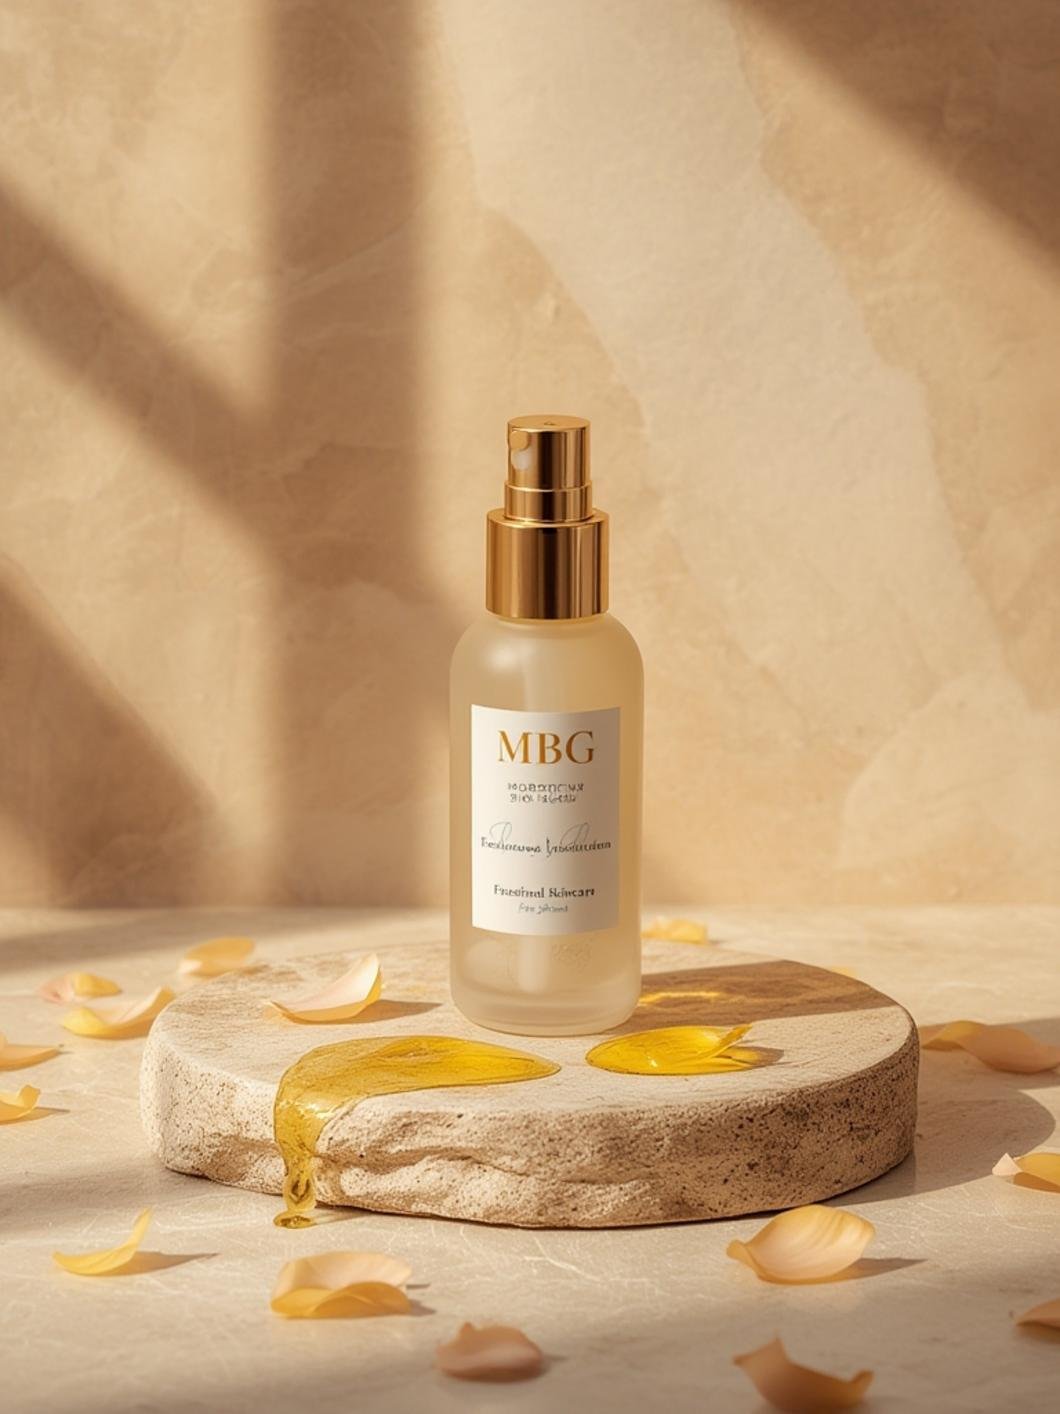
Infusion Creation: Prepare herbal infusions by steeping dried herbs in carrier oils (jojoba, coconut, almond) for 4-6 weeks, creating potent skincare preparations.
Winter Maintenance: Reduce watering frequency as growth slows. Prune dead foliage and adjust light exposure as needed during shorter daylight months.
Pest Management: Inspect plants weekly for spider mites, aphids, or mealybugs. Spray affected plants with organic insecticidal soap and isolate infected specimens immediately.
Conclusion
Establishing a personal skincare garden represents one of the most rewarding wellness investments you can make. By cultivating your own fresh skincare ingredients, you gain complete transparency, superior quality, and exceptional cost savings compared to commercial alternatives. Implementing a comprehensive natural beauty regimen grounded in homegrown botanicals transforms your approach to skincare while connecting you meaningfully to nature’s healing properties.
Starting with just a few fundamental herbs like lavender, chamomile, and aloe vera establishes a solid foundation for experimentation and expansion. Remember that gardening involves learning curves—some failures provide valuable lessons leading to eventual success. Document your experiences, adjust your techniques based on observations, and celebrate each successful harvest.
We encourage you to begin your skincare garden journey immediately, sharing your experiences, photos, and discovered formulas in our community comments below. Explore our related articles about homemade skincare recipes and advanced gardening techniques to deepen your knowledge further. Your radiant, healthy skin—nurtured by nature’s bounty and your personal dedication—awaits.
FAQs
Q1: Can I grow skincare herbs indoors year-round?
Absolutely! With appropriate grow lights providing 12-14 hours of daily illumination, controlled watering, and adequate air circulation, most skincare herbs thrive indoors throughout all seasons, ensuring consistent harvesting regardless of outdoor weather conditions.
Q2: Which herbs are best for sensitive skin?
Chamomile, calendula, and rose petals are exceptionally gentle for sensitive skin types. Begin with small quantities, performing patch tests before widespread application to ensure individual tolerance.
Q3: How often should I harvest herbs?
Begin harvesting once plants establish substantial foliage (6-8 true leaves). Regular harvesting every 1-2 weeks encourages bushier growth and extends production seasons significantly throughout growing periods.
Q4: What’s the ideal soil pH for skincare herbs?
Most skincare herbs prefer slightly acidic to neutral soil (pH 6.0-7.0). Test soil regularly using pH kits and adjust using agricultural limestone to raise pH or sulfur to lower it as needed.
Q5: Can I propagate herbs from cuttings?
Yes! Take 4-6 inch cuttings from healthy stems, remove lower leaves, and place in water or moist propagation medium. Roots typically develop within 2-3 weeks, after which you can transplant into soil containers successfully.


