The Ultimate Guide to Growing and Using UV Protection Plants: A Comprehensive Home Care Guide
Introduction
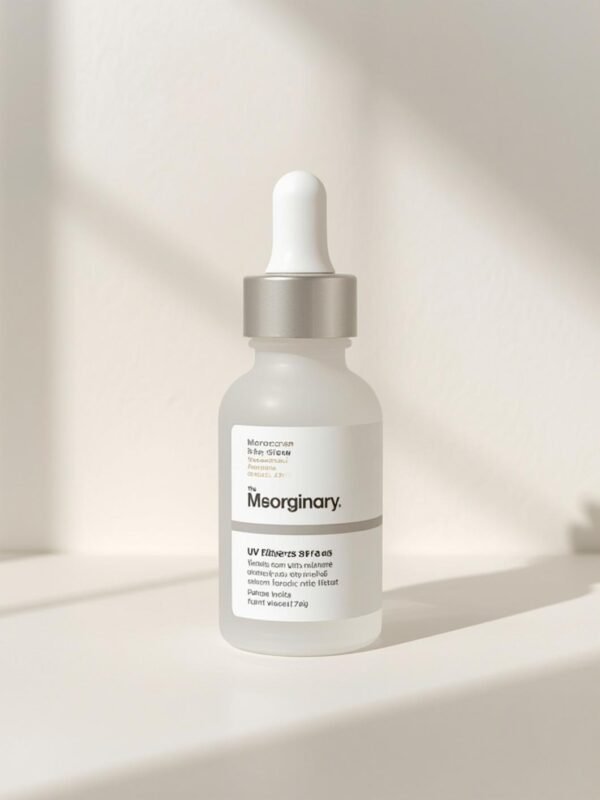
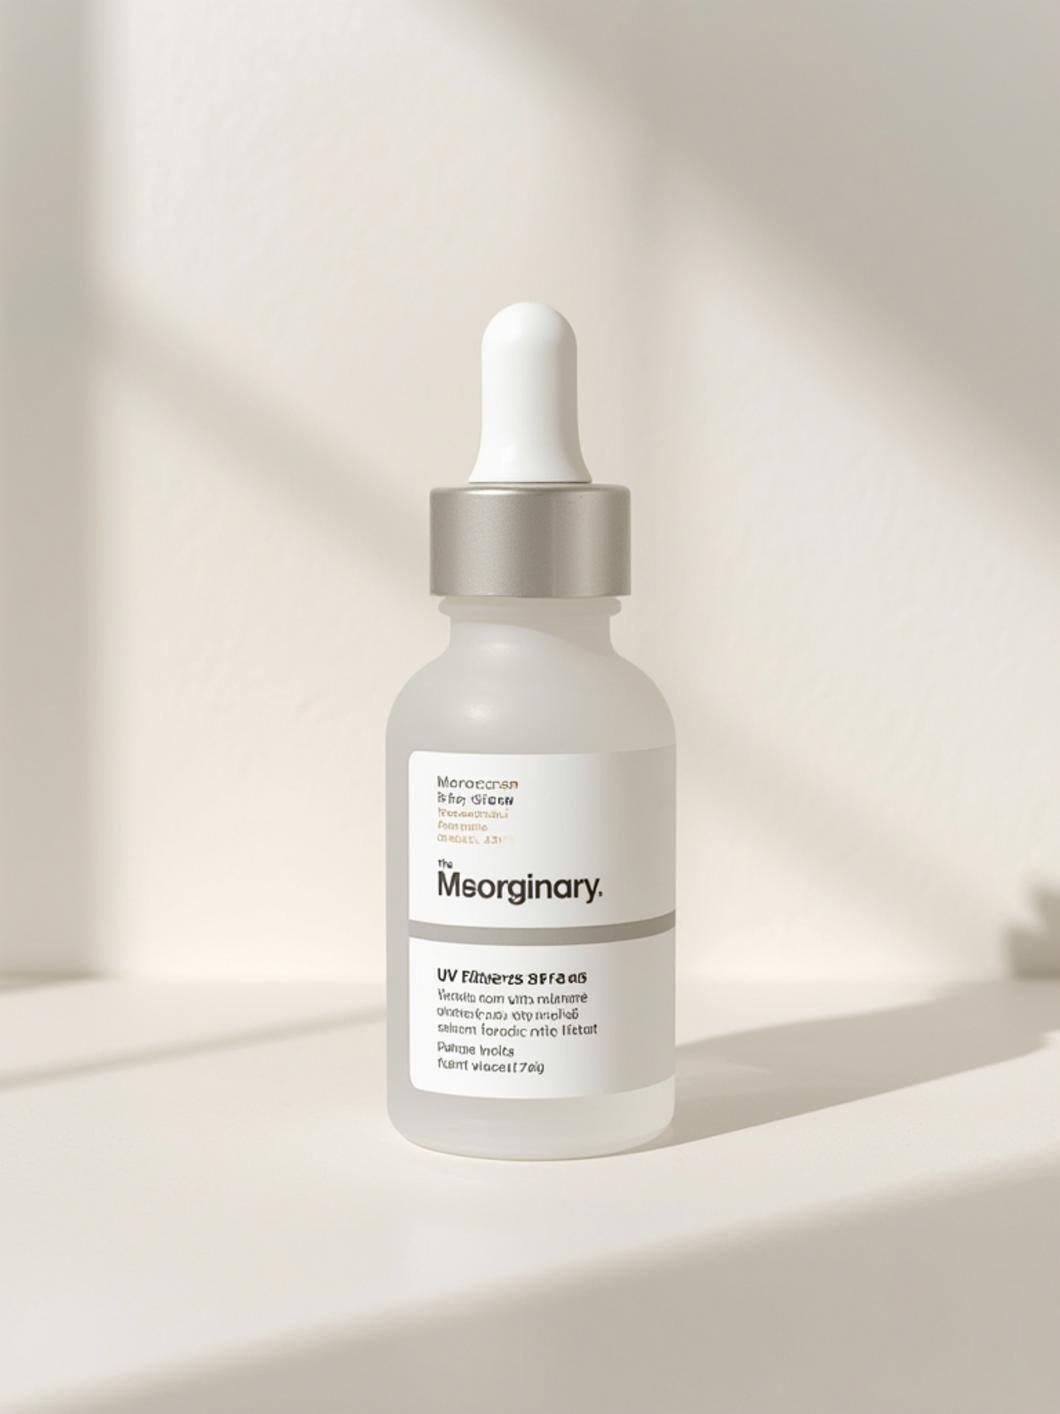
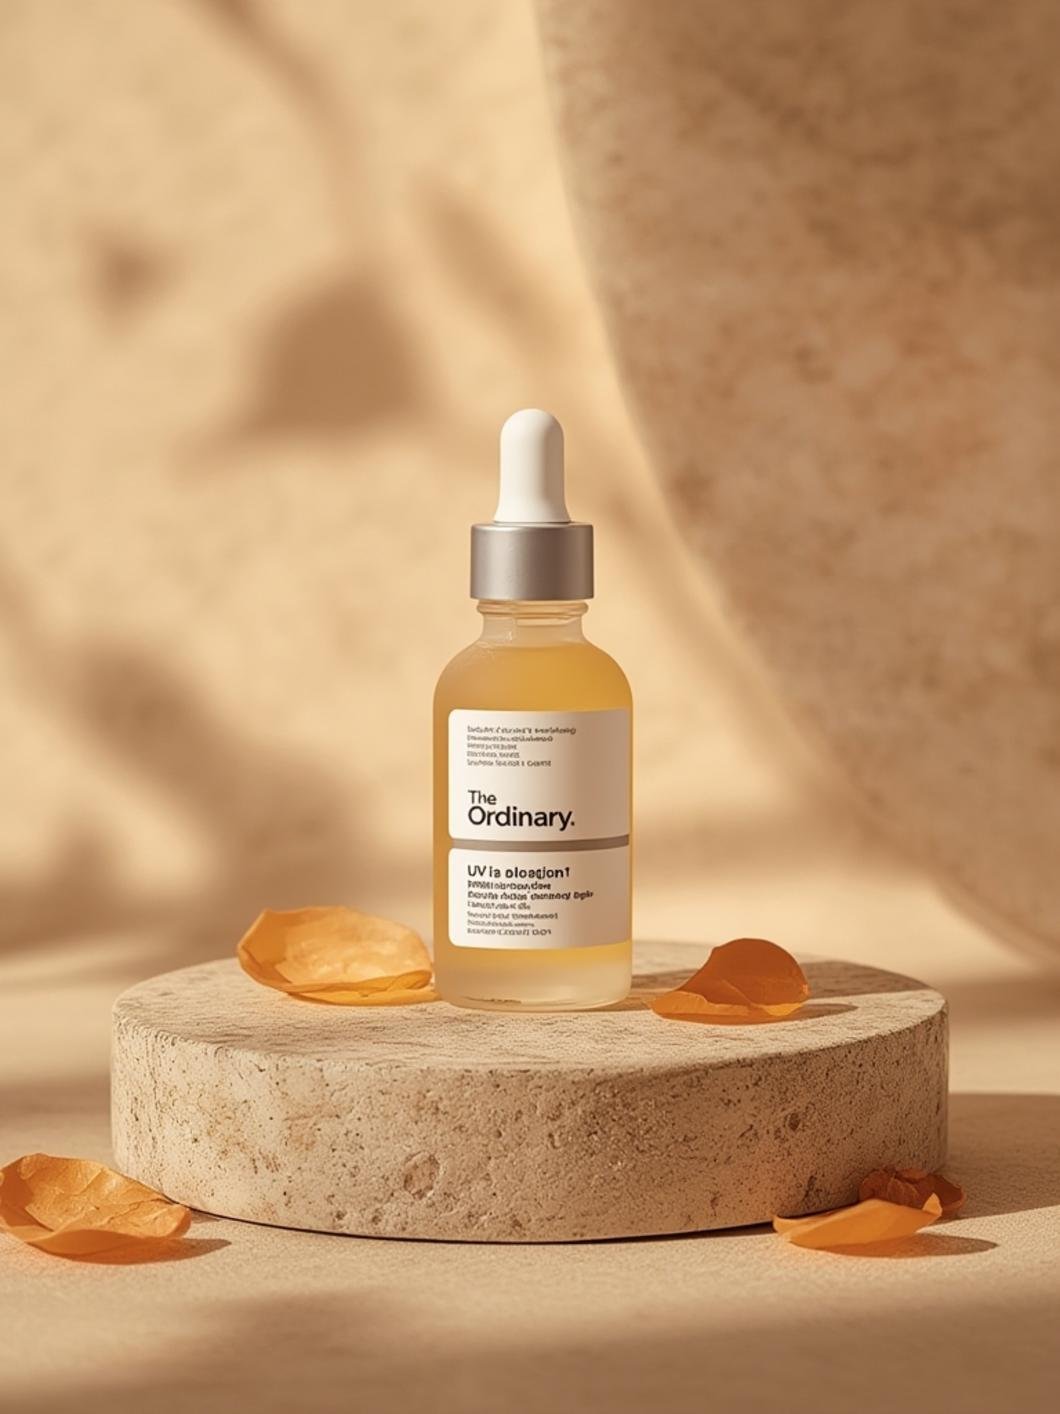
Have you ever wondered how to naturally protect your skin while enjoying outdoor activities? The intersection of gardening and skincare has created an exciting opportunity for home enthusiasts to cultivate plants that support natural UV protection. Growing UV protection plants at home not only provides you with fresh, organic ingredients but also offers significant cost savings compared to commercial products. Whether you’re interested in The ordinary uv filters SPF 45 serum alternatives or simply curious about natural sun protection methods, understanding how to cultivate these specialized plants is invaluable. Many people don’t realize that The Ordinary SPF 45 sunscreen serum ingredients often derive from plant-based sources that can be grown in your own garden. This comprehensive guide will walk you through everything you need to know about nurturing UV-protective plants at home, from initial setup through harvest and storage. By the end of this article, you’ll have the knowledge to create your own natural sun protection solutions right from your backyard.
Materials & Supplies
Before beginning your UV protection plant cultivation journey, gather all necessary materials and supplies to ensure success:
Essential Materials:
– High-quality potting soil enriched with organic matter
– Clay or terracotta pots with drainage holes (6-10 inch diameter recommended)
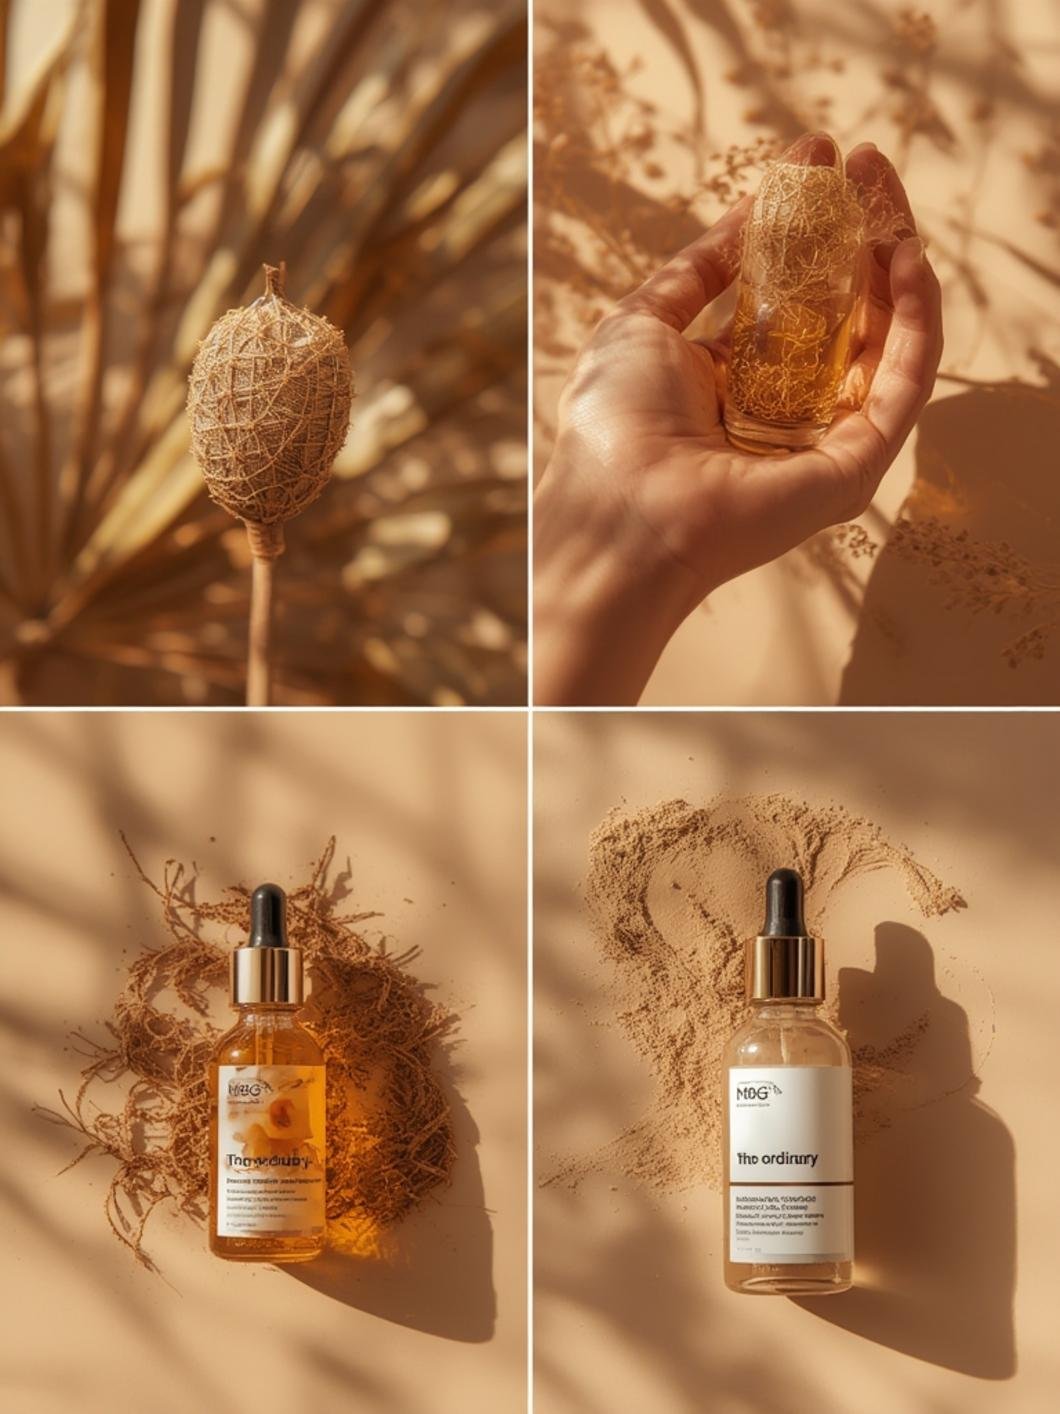
– UV-protective plant seeds (such as polypodium leucotomos, red algae, or fern varieties)
– Gardening gloves and tools (hand trowel, pruning shears, weeding fork)
– Watering can with adjustable nozzle
– Mulch (organic wood chips or straw)
– Balanced fertilizer (10-10-10 NPK ratio)
– pH testing kit for soil analysis
– Plant labels and waterproof markers
Optional but Recommended:
– Grow lights for indoor cultivation
– Humidity tray or misting bottle for tropical varieties
– Plant stakes or trellises for vertical support
– Organic pest control spray (neem oil)
– Compost bin for nutrient-rich amendments
– Greenhouse or cold frame for year-round growing
Each item serves a specific purpose in creating optimal growing conditions. Quality supplies directly impact plant health and the potency of UV-protective compounds within your plants.
Timing / Growing Schedule
Understanding the timing of UV protection plant cultivation is crucial for successful harvests. Most UV-protective plants require a 2-3 week preparation period before planting, including soil preparation and container selection.
Growth Timeline:
– Week 1-2: Seed germination phase (maintain 70-75°F temperature)
– Week 3-8: Active vegetative growth (6-8 hours of indirect sunlight daily)
– Week 9-16: Maturation phase with increased sun exposure
– Month 5-6: Peak UV-protective compound development
– Month 6-7: Harvest readiness
For most UV-protective plant varieties, expect a total growing period of 4-6 months from seed to harvest. Tropical varieties may require additional time but offer superior UV-protective properties. Seasonal considerations are important: spring planting allows plants to mature through summer, maximizing protective compound production before autumn harvest.
Step-by-Step Instructions
Follow these detailed steps to successfully cultivate your UV protection plants at home:
Step 1: Prepare Your Growing Space
Select a location receiving 4-6 hours of indirect sunlight daily. Indoor growers should use grow lights positioned 12 inches above plants. Ensure adequate air circulation to prevent fungal issues. This preparation mirrors the careful formulation of The ordinary uv filters SPF 45 serum – both require optimal environmental conditions.
Step 2: Prepare Soil and Containers
Fill containers with high-quality potting soil mixed with 20% compost. Test soil pH, aiming for 6.0-7.0 range. Ensure drainage holes are unobstructed. Add 2 inches of mulch to maintain moisture and regulate temperature.
Step 3: Sow Seeds Properly
Plant seeds at depth equal to twice their diameter. Water gently using a misting bottle to avoid displacement. Maintain soil moisture (not waterlogged) and keep temperature between 70-75°F for optimal germination.
Step 4: Provide Consistent Light
Once sprouted, increase light exposure gradually. Move plants to brighter locations or adjust grow lights as plants develop. Adequate light drives UV-protective compound synthesis, similar to how The Ordinary SPF 45 sunscreen serum requires specific formulation conditions.
Step 5: Establish Watering Schedule
Water when top soil inch feels dry. During growth phase, maintain consistent moisture. Reduce watering frequency as plants mature. Avoid overhead watering to prevent leaf disease.
Step 6: Apply Fertilizer
Begin monthly fertilization once plants develop 4 true leaves. Alternate between balanced fertilizer and calcium-rich amendments to strengthen protective compounds.
Nutritional Benefits & Advantages
Growing UV protection plants at home provides remarkable benefits beyond simple sun defense:
Health Advantages:
– Natural UV-protective compounds equivalent to SPF 30-45 when processed properly
– Antioxidant-rich ingredients supporting overall skin health
– Reduced exposure to synthetic chemical sunscreens
– Fresh, organic alternatives to commercial products
Environmental Benefits:
– Reduced carbon footprint compared to manufactured sunscreens
– Sustainable, renewable resource cultivation
– Support for biodiversity in home gardens
– Chemical-free contribution to local ecosystems
Economic Advantages:
– Initial investment recouped within one season
– Multiple harvests from single plants
– Reduced dependence on commercial sunscreen brands
Tips, Alternative Methods, and Gardening Advice
Container Gardening:
Perfect for apartment dwellers, container gardening allows flexibility in plant placement and light management. Use 5-gallon containers for optimal root development.
Raised Bed Cultivation:
For larger-scale production, raised beds (4×8 feet) provide excellent drainage and temperature control. Add landscape fabric underneath to prevent weed intrusion.
Indoor Growing:
Use T5 or LED grow lights positioned 12-14 inches above plants. Maintain 14-16 hour light cycles for optimal growth. Indoor cultivation allows year-round production regardless of climate.
Organic Methods:
Eliminate synthetic pesticides by using neem oil, insecticidal soap, and beneficial insect introduction. Companion planting with marigolds deters pests naturally.
Climate Adaptation:
– Cold climates: Start seeds indoors 6 weeks before last frost
– Hot climates: Provide afternoon shade and increase watering frequency
– Humid regions: Improve air circulation and reduce watering to prevent mold
Common Mistakes to Avoid
Learning from common pitfalls accelerates your success:
Overwatering: The leading cause of UV protection plant failure. Root rot develops quickly in waterlogged soil. Solution: Allow soil to dry between waterings.
Inadequate Lighting: Insufficient light reduces UV-protective compound development. Solution: Ensure 6+ hours daily or use supplemental grow lights.
Poor Soil Quality: Low-nutrient soil produces weak plants with minimal protective compounds. Solution: Invest in quality potting soil and add compost amendments.
Improper Temperature: Fluctuations below 60°F or above 85°F stress plants. Solution: Maintain stable conditions and protect seedlings during temperature swings.
Pest Neglect: Early pest detection prevents infestations. Solution: Inspect plants weekly and treat immediately with organic methods.
Neglecting pH Balance: Incorrect soil pH prevents nutrient absorption. Solution: Test quarterly and adjust using sulfur or lime as needed.
Storage & Maintenance Tips
Harvesting Process:
Harvest leaves and stems in early morning when protective compounds peak. Use sterilized pruning shears to prevent disease transmission.
Short-term Storage:
Store fresh material in refrigerated containers with damp paper towels for up to 2 weeks. Maintain humidity to prevent wilting.
Long-term Storage:
Dry harvested material at 95-105°F for 2-3 days. Store in airtight containers away from light and heat. Dried material maintains potency for 6-8 months.
Ongoing Maintenance:
– Water consistently based on weather and soil conditions
– Prune regularly to encourage bushier growth
– Remove dead leaves and diseased material immediately
– Rotate container positions monthly for even light exposure
– Fertilize every 3-4 weeks during growing season
Conclusion
Growing UV protection plants at home represents an empowering approach to natural sun defense and sustainable living. By cultivating alternatives to commercial products like The ordinary uv filters SPF 45 serum, you gain control over ingredient quality and production methods. Whether you’re seeking The Ordinary SPF 45 sunscreen serum alternatives or simply exploring botanical sun protection, home cultivation offers unmatched benefits. Key takeaways include proper soil preparation, consistent light exposure, mindful watering practices, and regular harvesting to maximize protective compounds. Start with one or two plants, master basic care techniques, and expand your garden seasonally. Share your UV protection plant journey with friends and family, inspiring others to embrace natural sun defense. Explore our related posts on botanical skincare and sustainable gardening to deepen your horticultural knowledge.
FAQs
Q: How long until my UV protection plants are ready to harvest?
A: Most varieties mature within 4-6 months. Tropical species may require 7-8 months for optimal protective compound development.
Q: Can I grow UV protection plants indoors year-round?
A: Yes! With adequate grow lights (14-16 hours daily), LED systems support continuous indoor cultivation regardless of season or climate.
Q: What’s the ideal soil pH for UV protection plants?
A: Maintain pH between 6.0-7.0. Test quarterly using a soil pH kit and adjust using sulfur (lower pH) or lime (raise pH) as needed.
Q: How often should I fertilize during growing season?
A: Apply balanced fertilizer monthly once plants establish 4 true leaves. Reduce to bi-monthly during maturation phase.
Q: Are UV protection plants safe for all skin types?
A: Generally yes, but conduct patch tests before full application. Some individuals may experience sensitivity. Consult dermatologists with sensitive skin conditions.


