Complete Guide to Growing and Caring for Tranexamic Acid Skincare Plants at Home
Introduction
Have you ever wondered how to achieve radiant, blemish-free skin while staying connected to nature through gardening? The beauty and skincare industry has revolutionized over recent years, with more people seeking natural ingredients to incorporate into their daily routines. One of the most sought-after ingredients in modern skincare is derived from plant-based sources, and understanding its cultivation at home can be transformative.
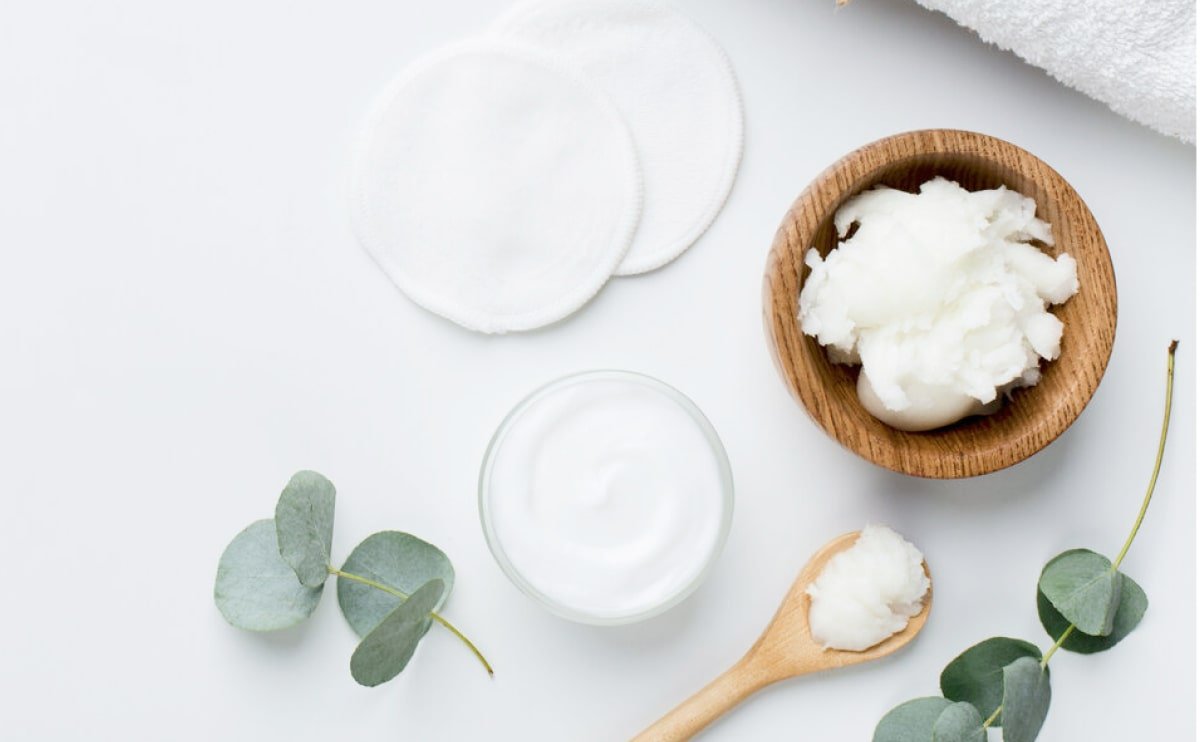
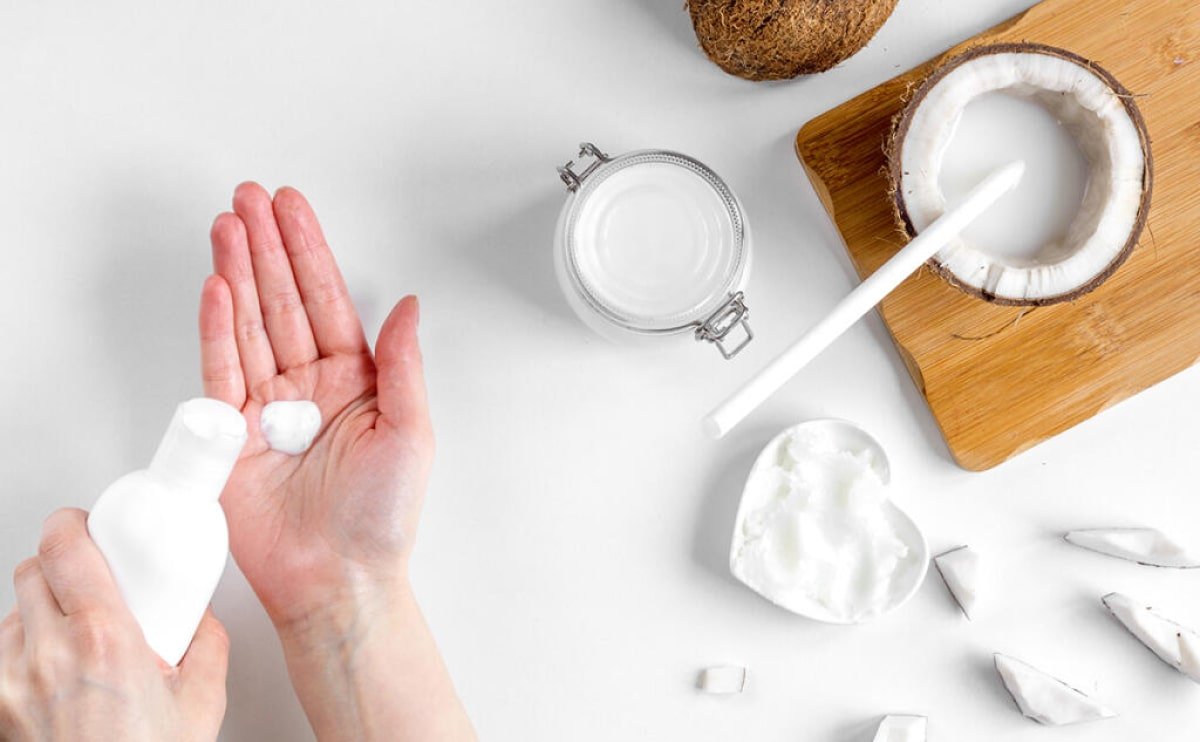
Growing ingredients for your own skincare regimen offers unprecedented control over quality, purity, and sustainability. Whether you’re interested in tranexamic acid skincare solutions or exploring the benefits of tranexamic acid serum, having access to fresh, home-grown botanical ingredients provides a natural foundation for your beauty routine. This comprehensive guide will walk you through every step of cultivating these powerful skincare plants, ensuring you create the most effective, personalized products for your complexion.
Materials & Supplies
Before beginning your skincare plant cultivation journey, gather the following essential materials:
Seeds and Starter Plants:
– High-quality seeds from reputable botanical suppliers
– Starter seedlings or propagation cuttings
– Seed starter trays with drainage holes
Soil and Growing Medium:
– Premium potting soil enriched with organic matter
– Perlite or coarse sand for drainage improvement
– Compost or aged manure for nutrient density
– Coconut coir as an eco-friendly alternative
Containers and Pots:
– 5-10 gallon containers for mature plants
– Drainage pots with saucers
– Grow bags for flexible space management
– Window boxes for limited spaces
Gardening Tools:
– Gardening spade and hand trowel
– Pruning shears and scissors
– Gloves and apron
– Watering can with spray nozzle
Fertilizers and Amendments:
– Balanced NPK fertilizer (10-10-10 ratio)
– Bone meal for phosphorus
– Potassium sulfate
– Organic pest control solutions
Optional Equipment:
– Grow lights for indoor cultivation
– Humidity trays
– pH testing kit
– Thermometer and hygrometer
Timing / Growing Schedule

Understanding the timeline for your skincare plant cultivation ensures optimal results and proper planning:
Preparation Phase (Week 1-2):
Begin with soil preparation and container setup. This foundational stage requires 7-14 days of careful arrangement. Sterilize your containers and prepare nutrient-rich soil blends to prevent disease and ensure robust growth.
Germination Period (Week 2-4):
Seed germination typically occurs within 10-21 days, depending on environmental conditions. Maintain consistent moisture and temperatures between 65-75°F for optimal sprouting rates.
Seedling Growth (Week 4-8):
Young seedlings develop their first true leaves during this 4-week phase. Provide 12-14 hours of light daily and maintain moderate moisture levels without waterlogging.
Vegetative Growth (Week 8-16):
During the 8-week vegetative stage, plants establish strong root systems and foliage. This is the critical period for building the foundation necessary for potent ingredient production.
Maturation and Harvest (Week 16-24):
Most skincare plants reach harvestable maturity within 4-6 months. Monitor for specific harvesting indicators to maximize bioactive compound concentration.
Step-by-Step Instructions
Step 1: Prepare Your Growing Space
Select a location with 6-8 hours of direct sunlight or provide supplemental grow lights. Ensure adequate air circulation to prevent fungal issues. Clean all surfaces to eliminate potential pathogens.
Step 2: Set Up Containers and Soil
Fill containers with premium potting soil mixed with perlite (70% soil, 30% perlite). Create drainage layers at the bottom using gravel or broken pottery. Moisten soil before planting without saturating it.
Step 3: Plant Seeds or Seedlings
Sow seeds at recommended depths (typically ¼ to ½ inch). Space seedlings according to mature plant size. Water gently using a misting bottle to avoid seed displacement.
Step 4: Establish Proper Lighting
Provide consistent illumination of 200-400 micromoles per square meter. Position lights 12-18 inches above plants, adjusting as growth occurs. Maintain a 14-hour light-to-10-hour dark cycle.
Step 5: Maintain Optimal Moisture Levels
Water when the top inch of soil feels dry. Use room-temperature, filtered water when possible. Ensure drainage occurs freely to prevent root rot—a common issue with intensive tranexamic acid skincare plant cultivation.
Step 6: Apply Fertilizer Strategically
Begin fertilizing when plants develop 4-6 true leaves. Apply balanced fertilizer every 2-3 weeks, following package instructions carefully. Adjust based on plant appearance and growth rate.
Step 7: Monitor Environmental Conditions
Track temperature, humidity, and light exposure daily. Maintain temperatures between 65-75°F during day and 55-65°F at night. Aim for 50-70% relative humidity for optimal development.
Step 8: Prune and Shape Plants
Remove lower leaves to encourage bushy growth. Pinch off flowering buds if focusing on leaf production for tranexamic acid serum extraction. Regular pruning enhances plant vigor and ingredient potency.
Step 9: Watch for Pest and Disease Issues
Inspect plants weekly for common pests like spider mites and whiteflies. Remove affected leaves immediately and apply organic pest control if necessary.
Step 10: Harvest at Peak Maturity
Harvest leaves or flowers when they’ve reached optimal bioactive compound concentration. Morning harvesting typically yields higher active ingredient levels compared to afternoon collection.
Nutritional Benefits & Advantages
Growing your own skincare plant source offers remarkable advantages:
– Complete Control Over Quality: Eliminate pesticides and harmful chemicals through organic cultivation methods
– Maximum Potency: Harvest at peak maturity for highest concentrations of beneficial compounds
– Cost Savings: Reduce long-term expenses by producing ingredients at home
– Sustainability: Minimize environmental impact through localized production
– Educational Value: Deepen your understanding of botanical skincare science
– Customization: Create personalized formulations targeting your specific skin concerns
Tips, Alternative Methods, and Gardening Advice
Container Gardening Solutions:
Grow plants in 5-gallon buckets or fabric pots for flexible rearrangement. Container gardening suits apartment dwellers and those with limited outdoor space perfectly.
Indoor Growing Methods:
Utilize grow tents with LED lights for year-round cultivation regardless of climate conditions. This approach provides consistent results and protection from outdoor environmental variables.
Hydroponic Systems:
Advanced gardeners can implement hydroponic setups for faster growth and higher yields. These soil-free systems optimize nutrient delivery and water efficiency significantly.
Climate Adaptation:
In cold climates, move containers indoors during winter months. In tropical regions, provide afternoon shade to prevent leaf damage from intense UV exposure.
Seasonal Considerations:
Adjust watering frequency based on season—more in summer, less in winter. Provide additional lighting during shorter daylight months to maintain consistent growth cycles.
Common Mistakes to Avoid
Overwatering:
The most common cause of failure is excessive moisture. Check soil moisture before watering and ensure drainage holes prevent water accumulation.
Inadequate Lighting:
Insufficient light causes leggy, weak growth. Invest in quality grow lights if natural sunlight is limited in your location.
Poor Air Circulation:
Stagnant air promotes fungal diseases. Use small fans to maintain gentle air movement throughout your growing space.
Nutrient Imbalances:
Don’t assume all plants need identical fertilization schedules. Observe plant appearance and adjust nutrient application accordingly.
Starting with Low-Quality Seeds:
Purchase seeds from established suppliers to ensure genetic viability and disease resistance.
Storage & Maintenance Tips
Harvested Material Storage:
Dry harvested leaves in a dark, well-ventilated area for 1-2 weeks. Store in airtight containers away from light and moisture to preserve active compounds for months.
Ongoing Plant Care:
– Water consistently without overwatering
– Fertilize every 2-3 weeks during growing season
– Prune dead or diseased foliage immediately
– Inspect weekly for pest or disease indicators
– Refresh soil annually with compost additions
– Rotate plants regularly for uniform light exposure
Seasonal Maintenance:
Reduce watering in winter when growth slows. Resume normal schedules in spring as temperatures increase and daylight extends.
Conclusion
Growing your own ingredients for tranexamic acid skincare products transforms your entire approach to personal beauty routines. By implementing the comprehensive strategies outlined in this guide—from seed selection through final harvesting—you’ll cultivate potent, pesticide-free ingredients superior to commercial alternatives. Whether you’re exploring tranexamic acid serum production or other botanical skincare formulations, home cultivation provides unparalleled quality control and sustainability.
Share your skincare gardening journey with our community! Leave comments describing your growing experiences, challenges overcome, or successful harvests. Explore our related posts on natural skincare formulations and advanced extraction techniques to maximize your botanical investment.
FAQs
Q1: How long does it take to see visible results from homegrown skincare ingredients?
A: Most plants reach harvestable maturity within 4-6 months. You can begin noticing skincare improvements 2-4 weeks after incorporating fresh extracts into your routine.
Q2: Can I grow these plants indoors without natural sunlight?
A: Absolutely! LED grow lights provide sufficient illumination for healthy growth when properly positioned 12-18 inches above plants with consistent 14-hour daily cycles.
Q3: What’s the best way to extract active compounds from harvested plants?
A: Simple infusion methods using carrier oils or alcohol work well for beginners. Advanced extraction techniques requiring specialized equipment can yield higher concentrations for experienced practitioners.
Q4: How do I prevent common pests from damaging my plants?
A: Maintain excellent air circulation, inspect plants weekly, remove affected leaves immediately, and apply organic pest control solutions at first signs of infestation.
Q5: Can I use tap water for watering, or should I filter it first?
A: Filtered or distilled water is preferable to eliminate chlorine and other chemicals that may affect plant health. If using tap water, allow it to sit for 24 hours before application.